Unity: Installation and Setup
Unity is a game engine and editor used by small and big game developers, artists, and creative technologists. Unity runs on both Mac and Windows, and can build projects that run on most platforms. You can make both 2D and 3D works with it; we’ll focus on 3D. Unity is free for individuals and students, but unlike p5 or Bitsy, it is not open source. Unity Technologies is a for-profit corporation.
- Before beginning, ensure that you have free space on your hard drive. 20GB+ would be ideal.
- Sign up for Unity (either Student or Personal are fine; both are free).
- Download Unity Hub and sign in with the account you just made. Unity Hub keeps track of all your projects and different versions of the Unity Editor.
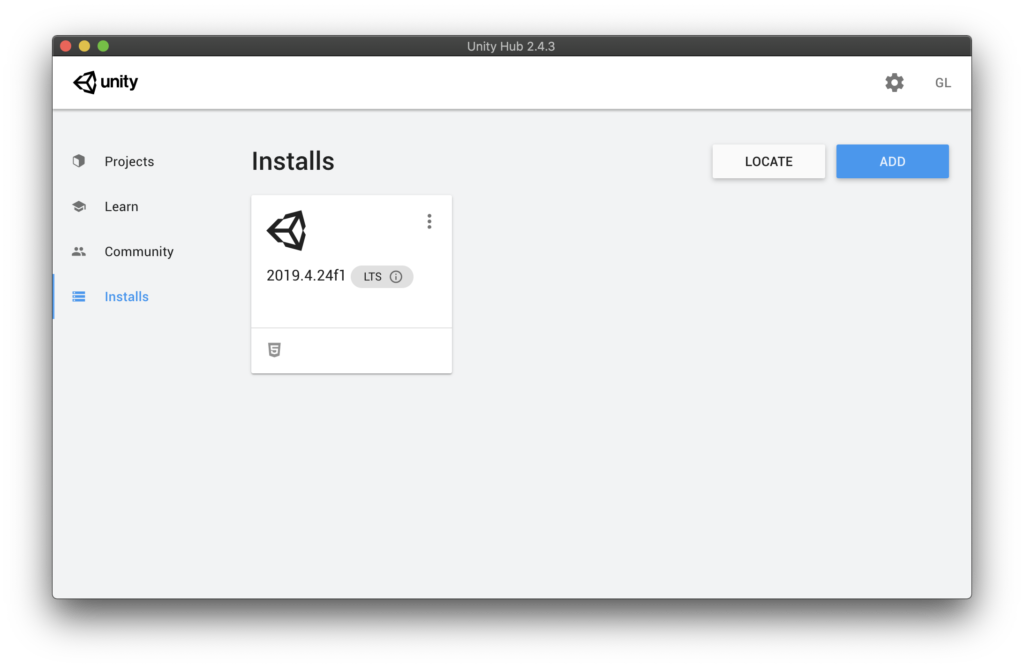
- It’s essential to install the correct version. In Unity Hub, go to the Installs tab, and select “Add”. Select Unity 2019.4.24f1 (LTS) from the list of Official Releases.

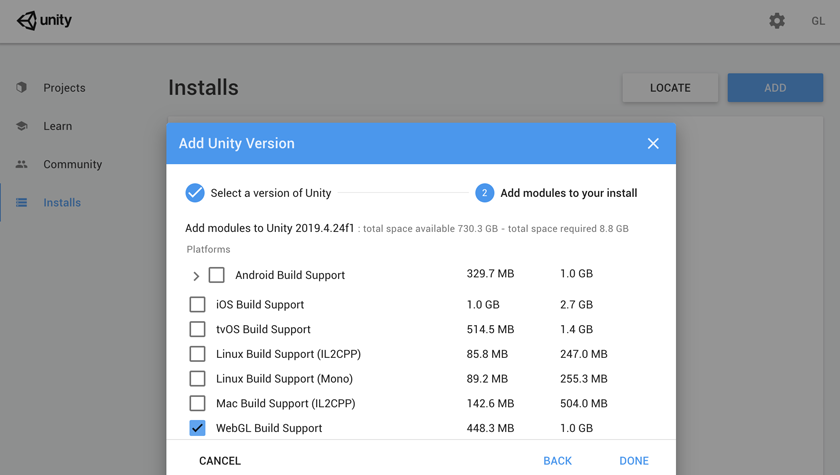
- Now we select which “Modules” to add, in order to allow Unity to build for different platforms. Add “WebGL Build Support”. (You could also add a language pack, such as Korean, if you scroll down.) Note, it’s also possible to add these modules later if you want.
- Congrats, you should see something like this in Unity Hub:
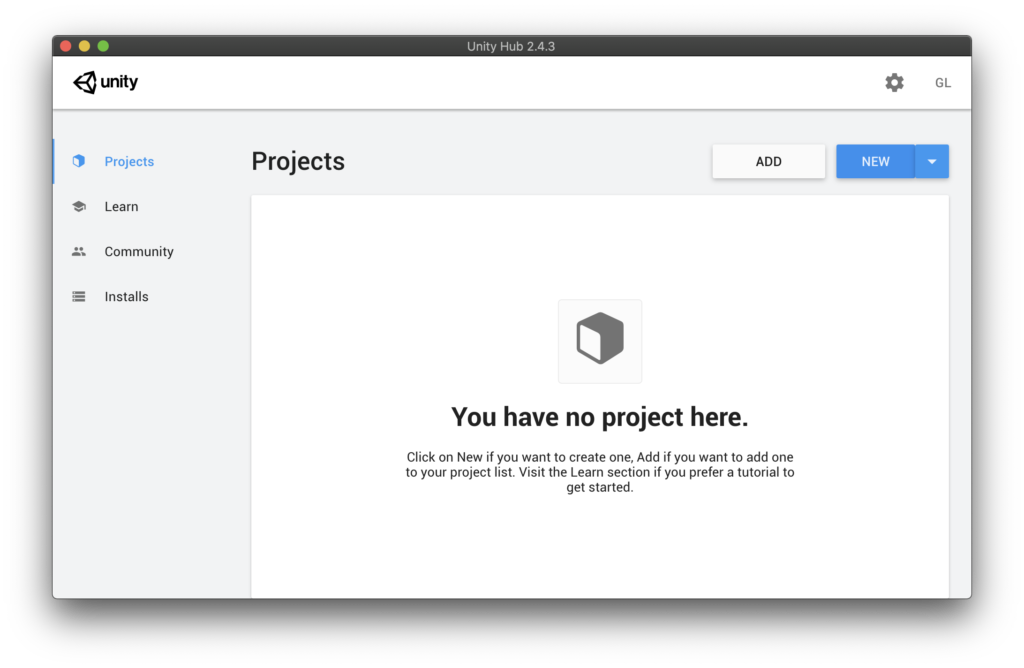
- Time to launch Unity and make sure it’s installed properly. Go to the Projects tab in Unity Hub (top left) and make a new project by clicking on the New button:
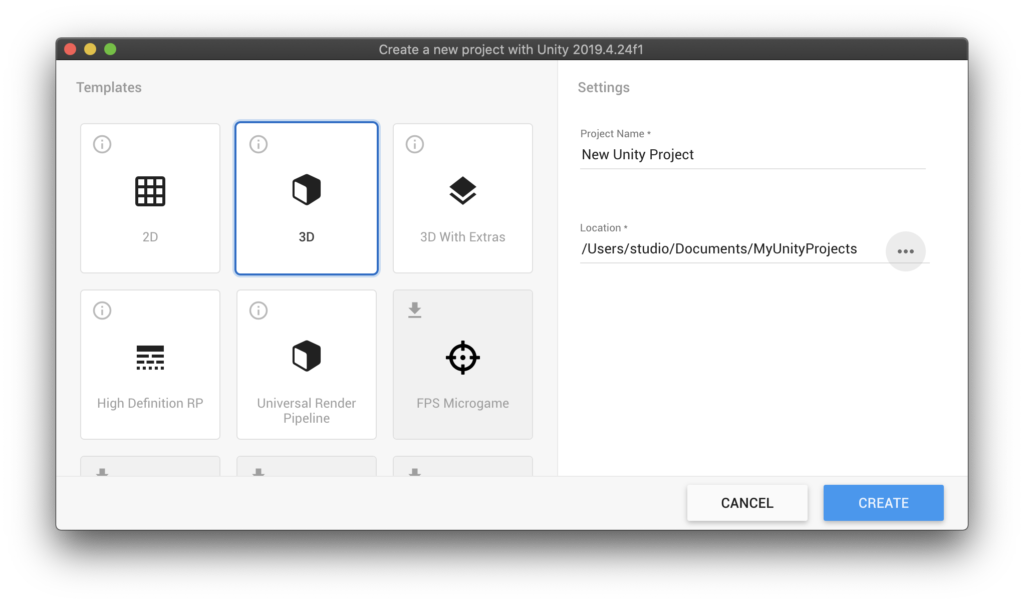
- Choose to make a 3D project and click Create:
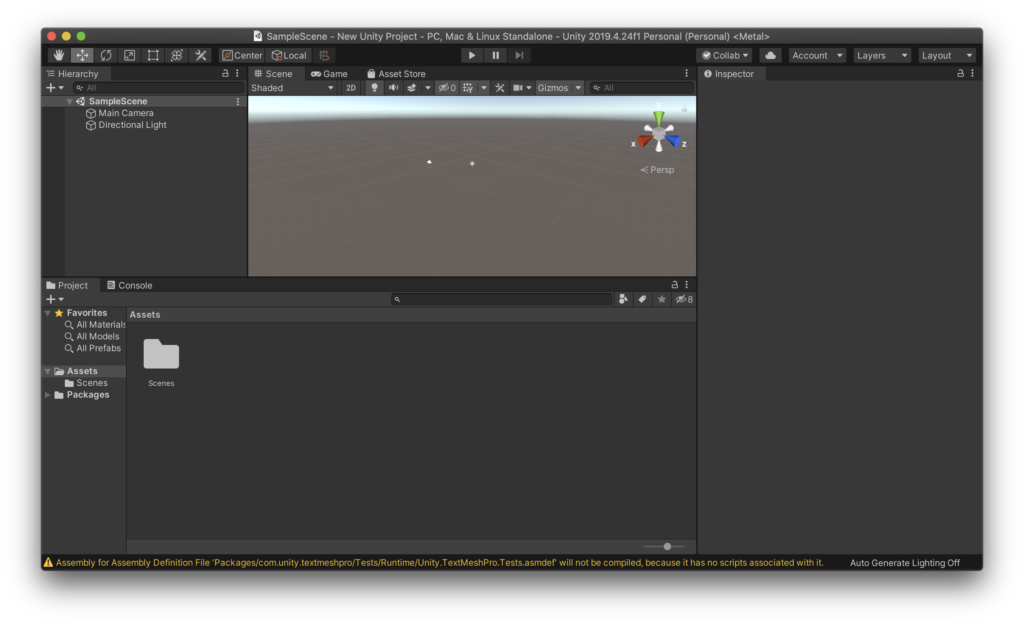
- Congrats! You should see the Unity interface, something like this: