Installation
Use the Package Manager to install the Post Processing package or to update an installed package to the latest version.
To install the Post Processing package:
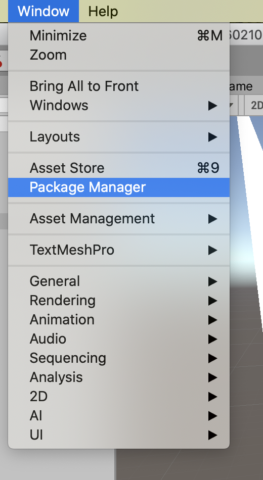
- Open the Package Manager in Window > Package Manager.
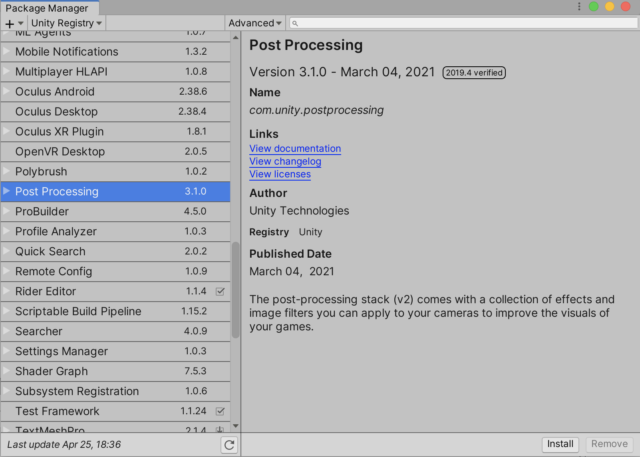
- In the top-left dropdown, make sure Unity Registry is selected.
- In the list of packages, select Post Processing.
- In the bottom-right corner of the Package Manager window, select Install.
For more information on the Package Manager and installing packages, see the following pages:
Getting started
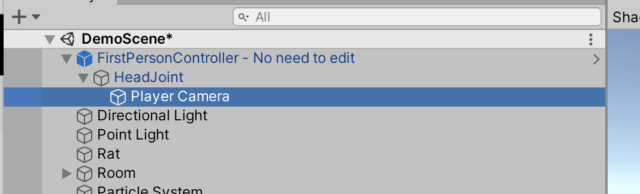
`1. Locate the camera object in the scene. If you’re using the template with the first-person controller, you can find it here.
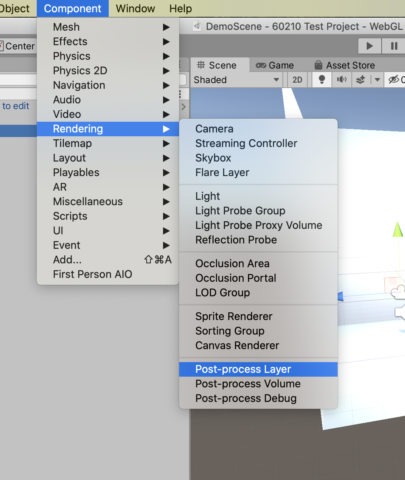
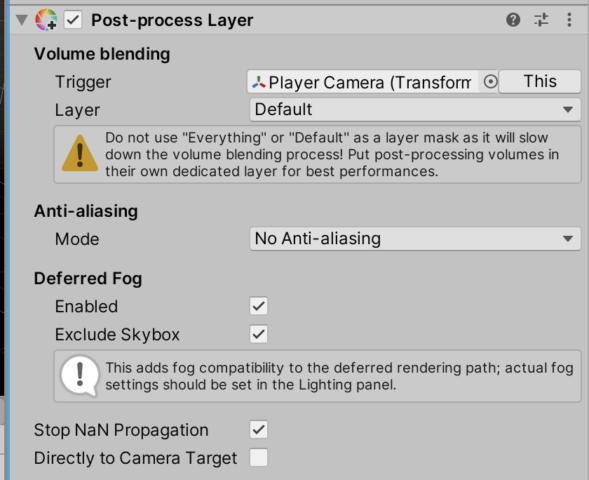
2. Add a post-process layer component to the camera, and then add a post-process volume layer to the camera too.

3. Under Post-Process Layer, select Default for layer. Disclaimer: this isn’t the most performance-friendly way to do it! In Unity, you can render your objects on different layers, which you assign to each object in the scene through the inspector. They prefer that you select a layer to apply the effects to rather than just applying it to all of them, but for simplicity, we will just select the Default layer.
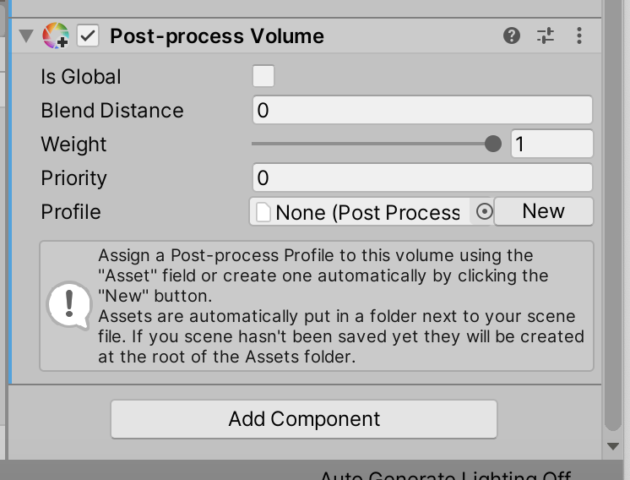
4. For the Post-process Volume, you need to create a profile. This is basically a list of effects that should be applied. Select the “New” button (it’s kind of hidden to the right of the “None(Post Process..)” Profile field).
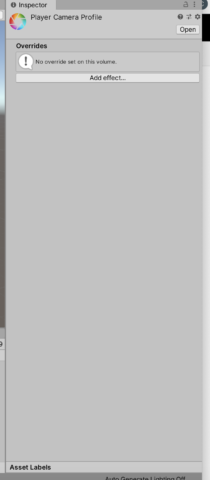
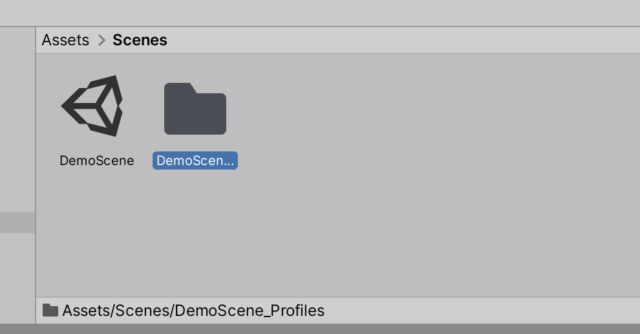
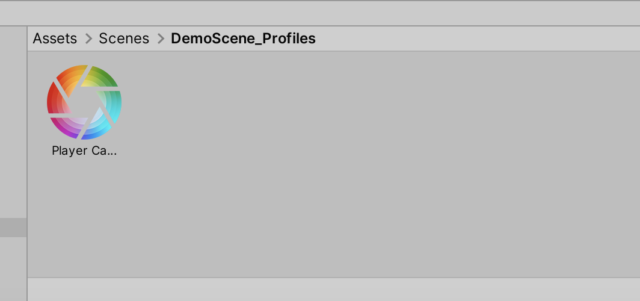
5. After creating the Post-Processing Profile, you can find it within the newly created folder. Click on the profile object and look at the inspector. You should be able to see a “Add effect…” button.
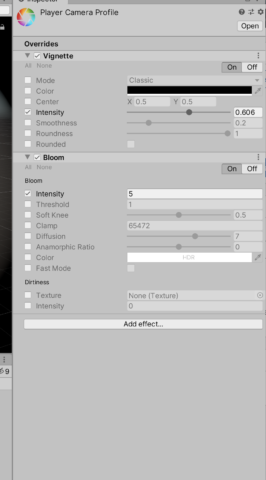
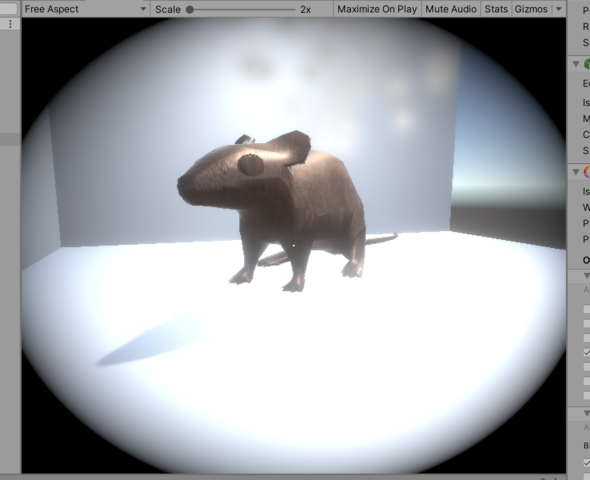
6. Add an effect! The effects may look greyed out at first, but you just need to select the checkbox on the left to enable them and interact with them. The scene view should change in response to the filters you apply.
For more info, you can check out the official documentation about Post-Processing in Unity.