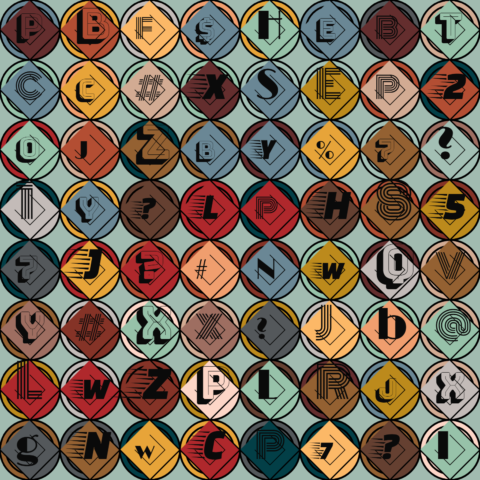
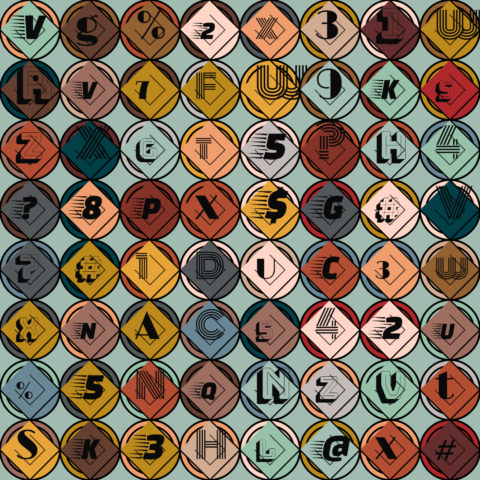
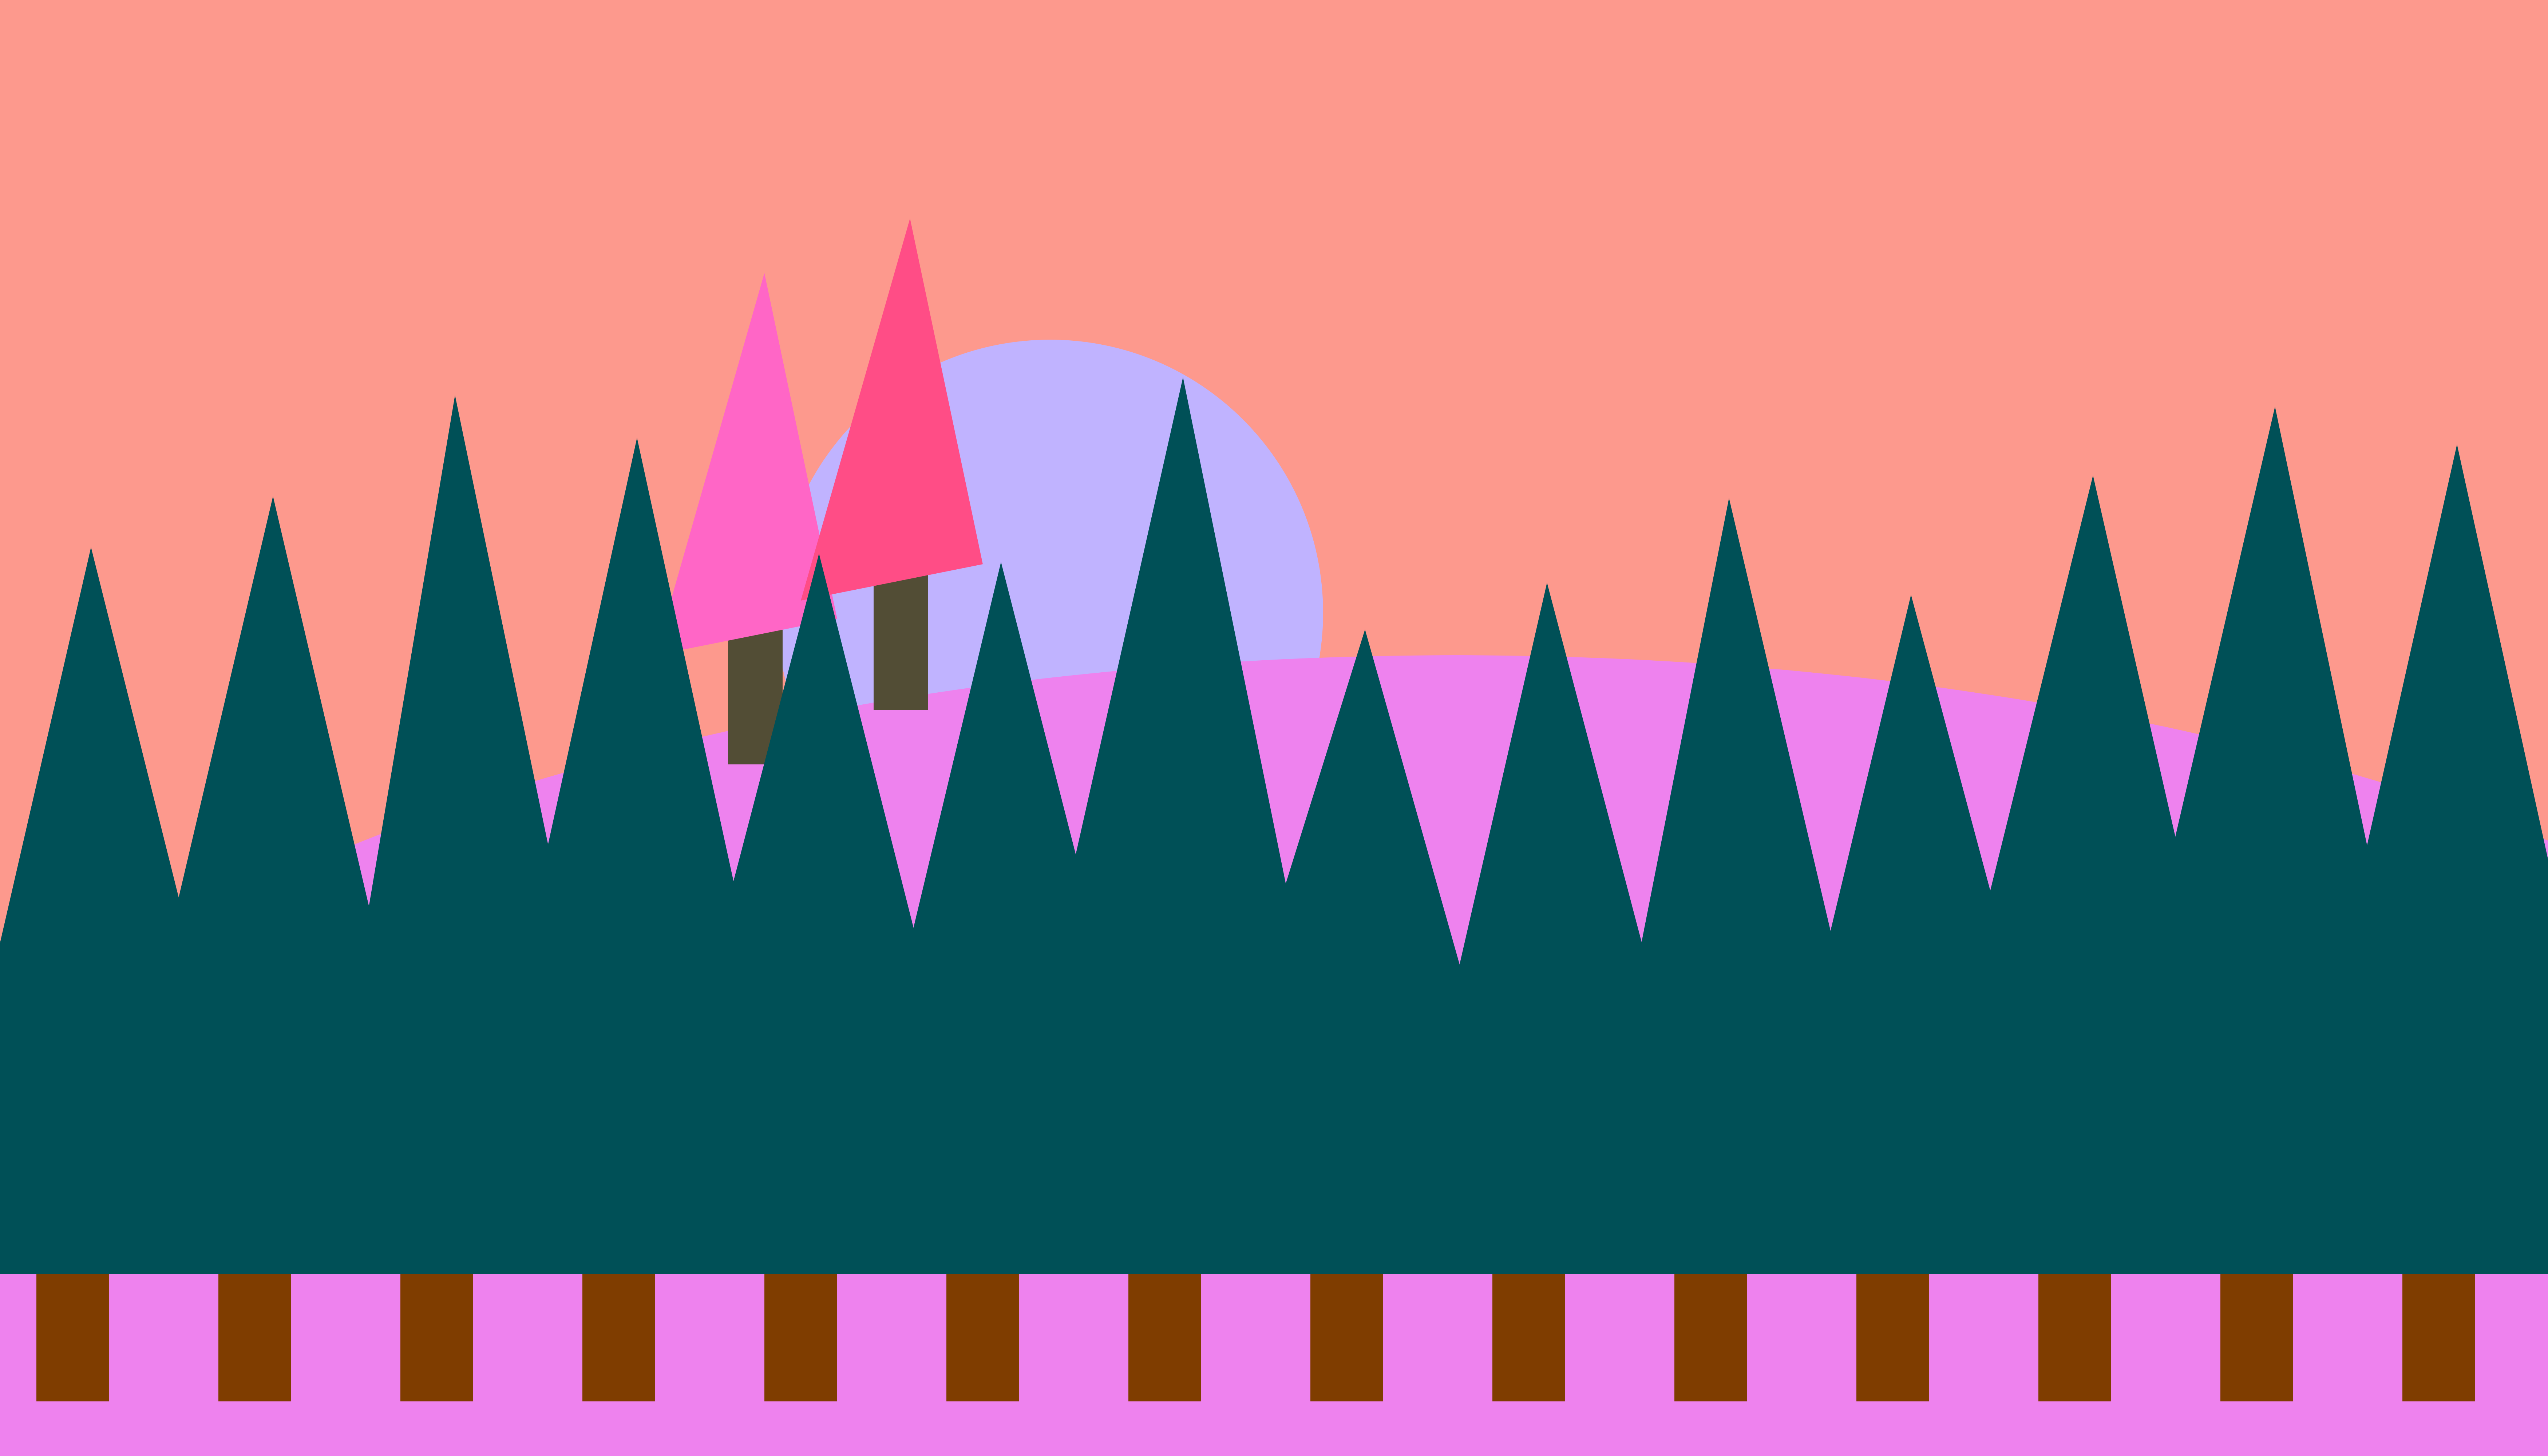
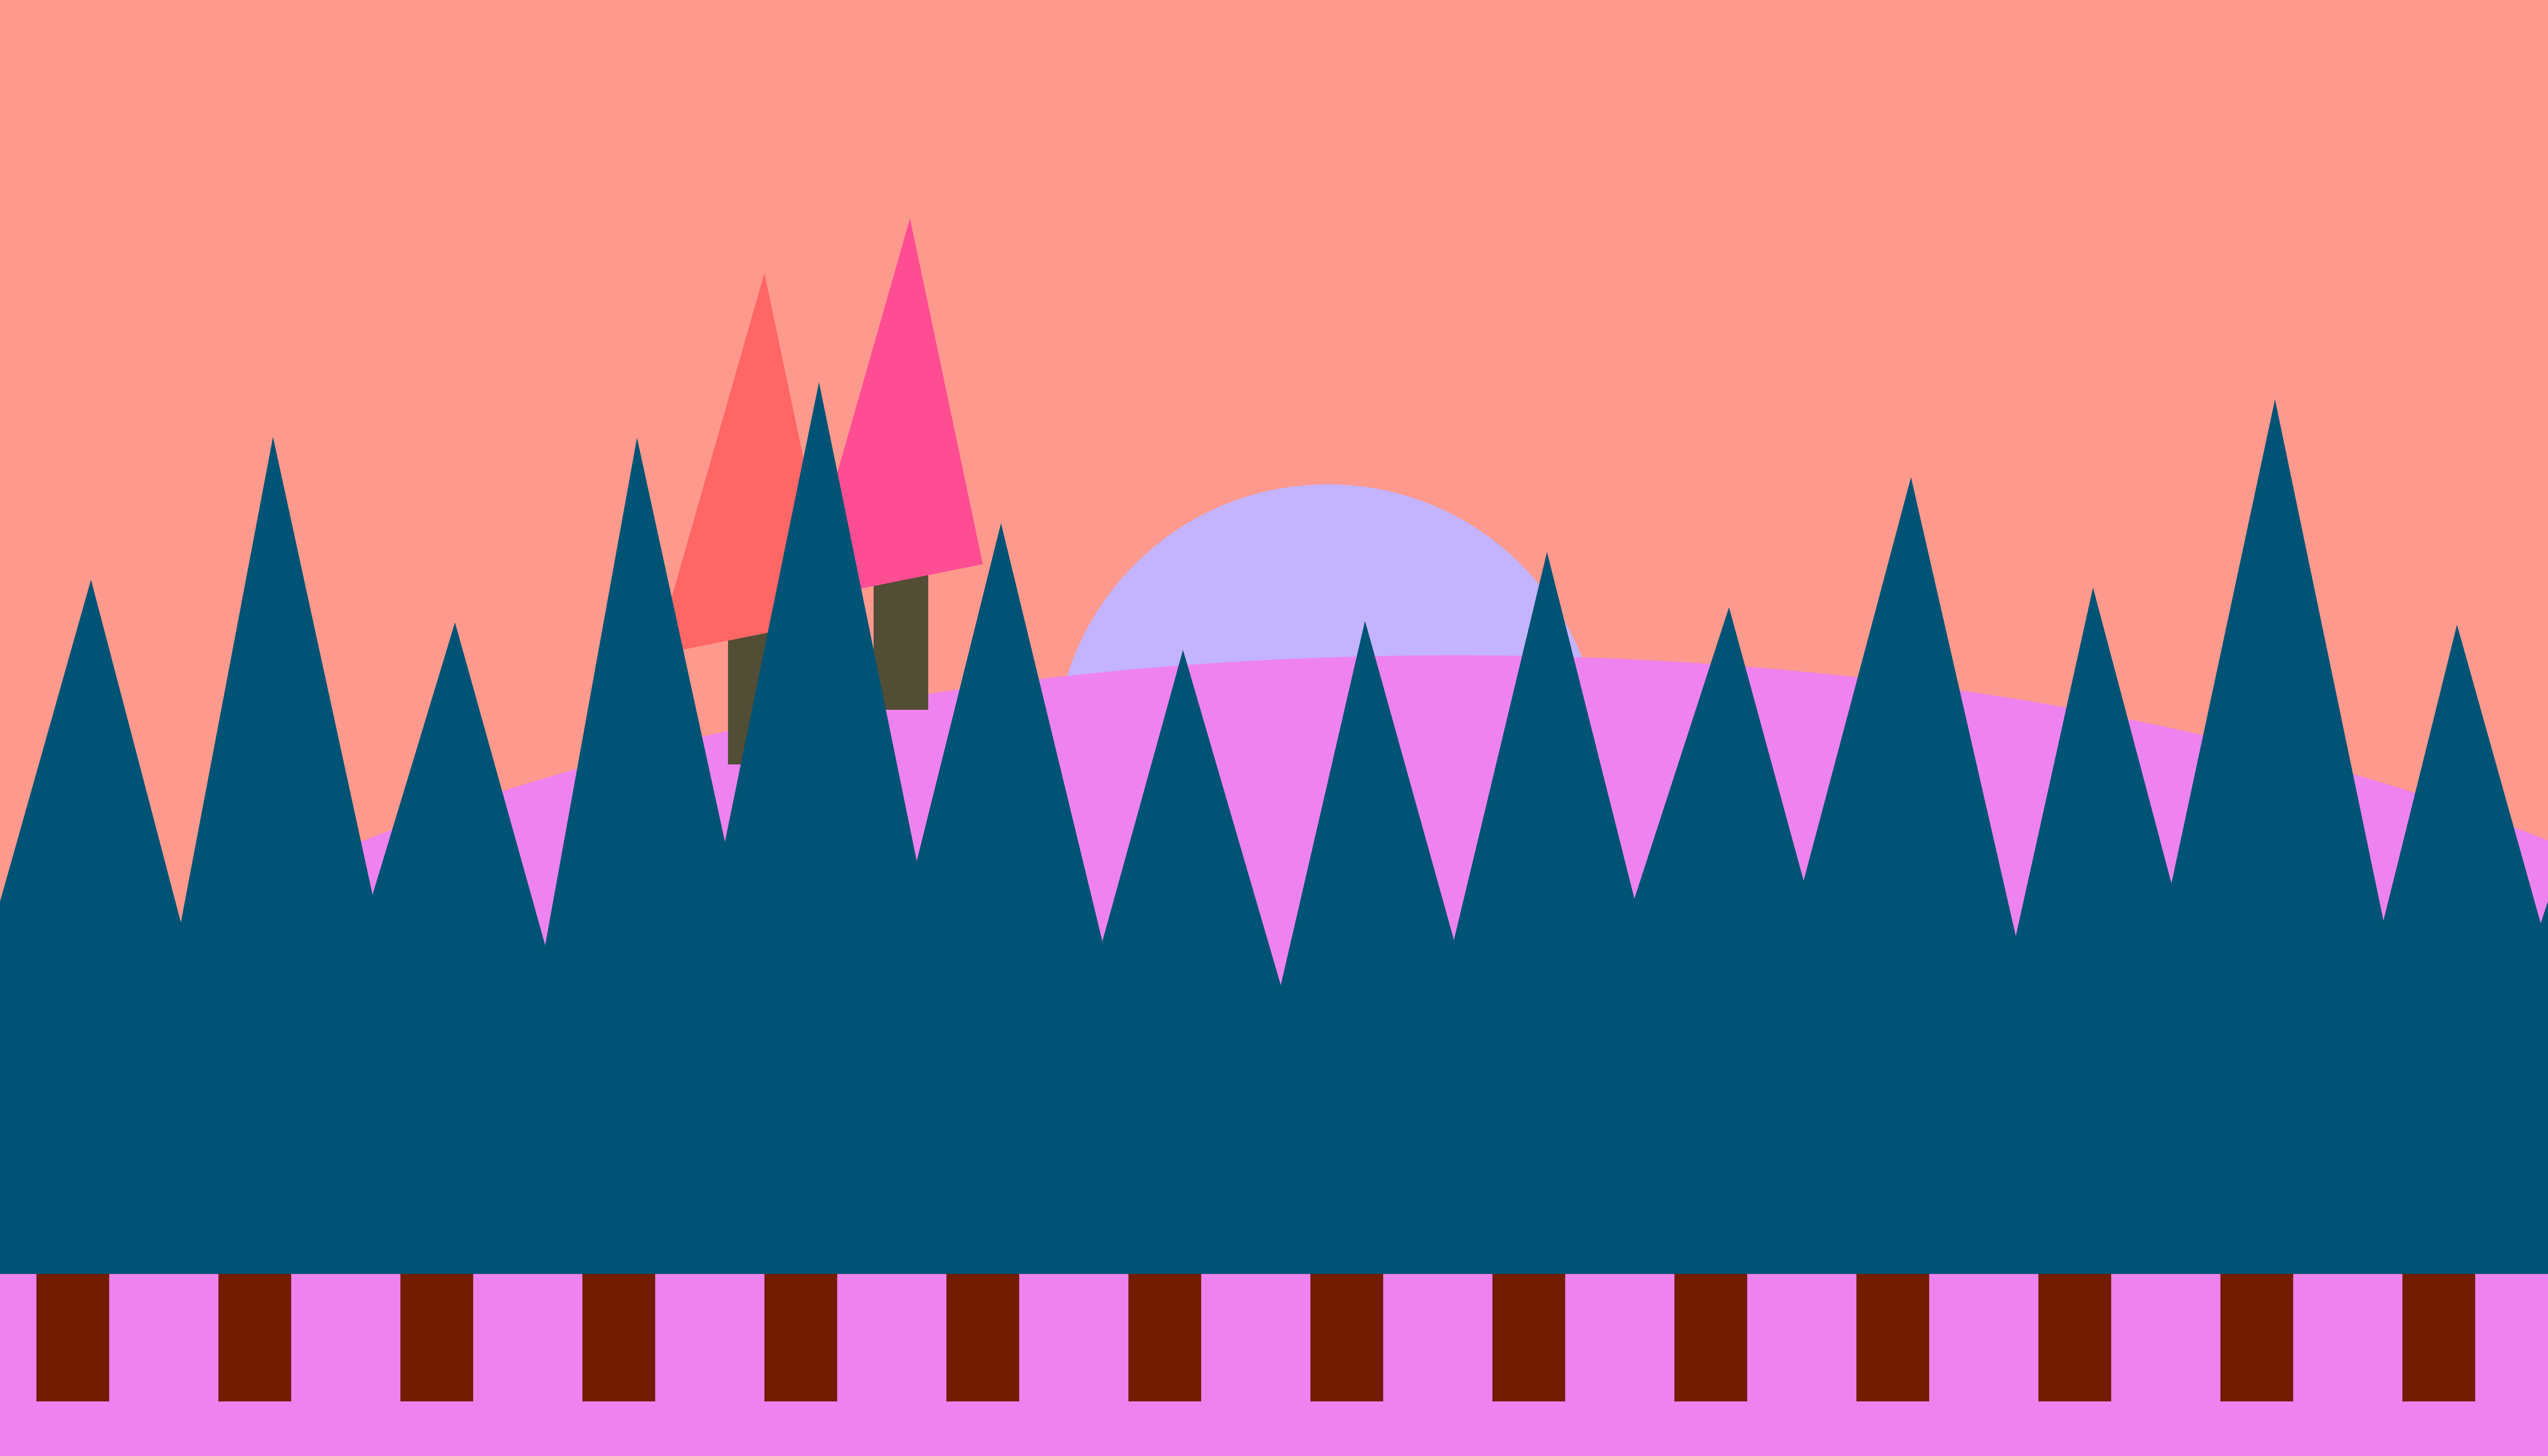
Note: The high-res code seems to sort of glitch with my tape names because they won’t randomize if you just click on the image instead of pressing play again. So, I’ve now noticed that the tape names are exactly the same in these two images, but they DO randomize! 🙂
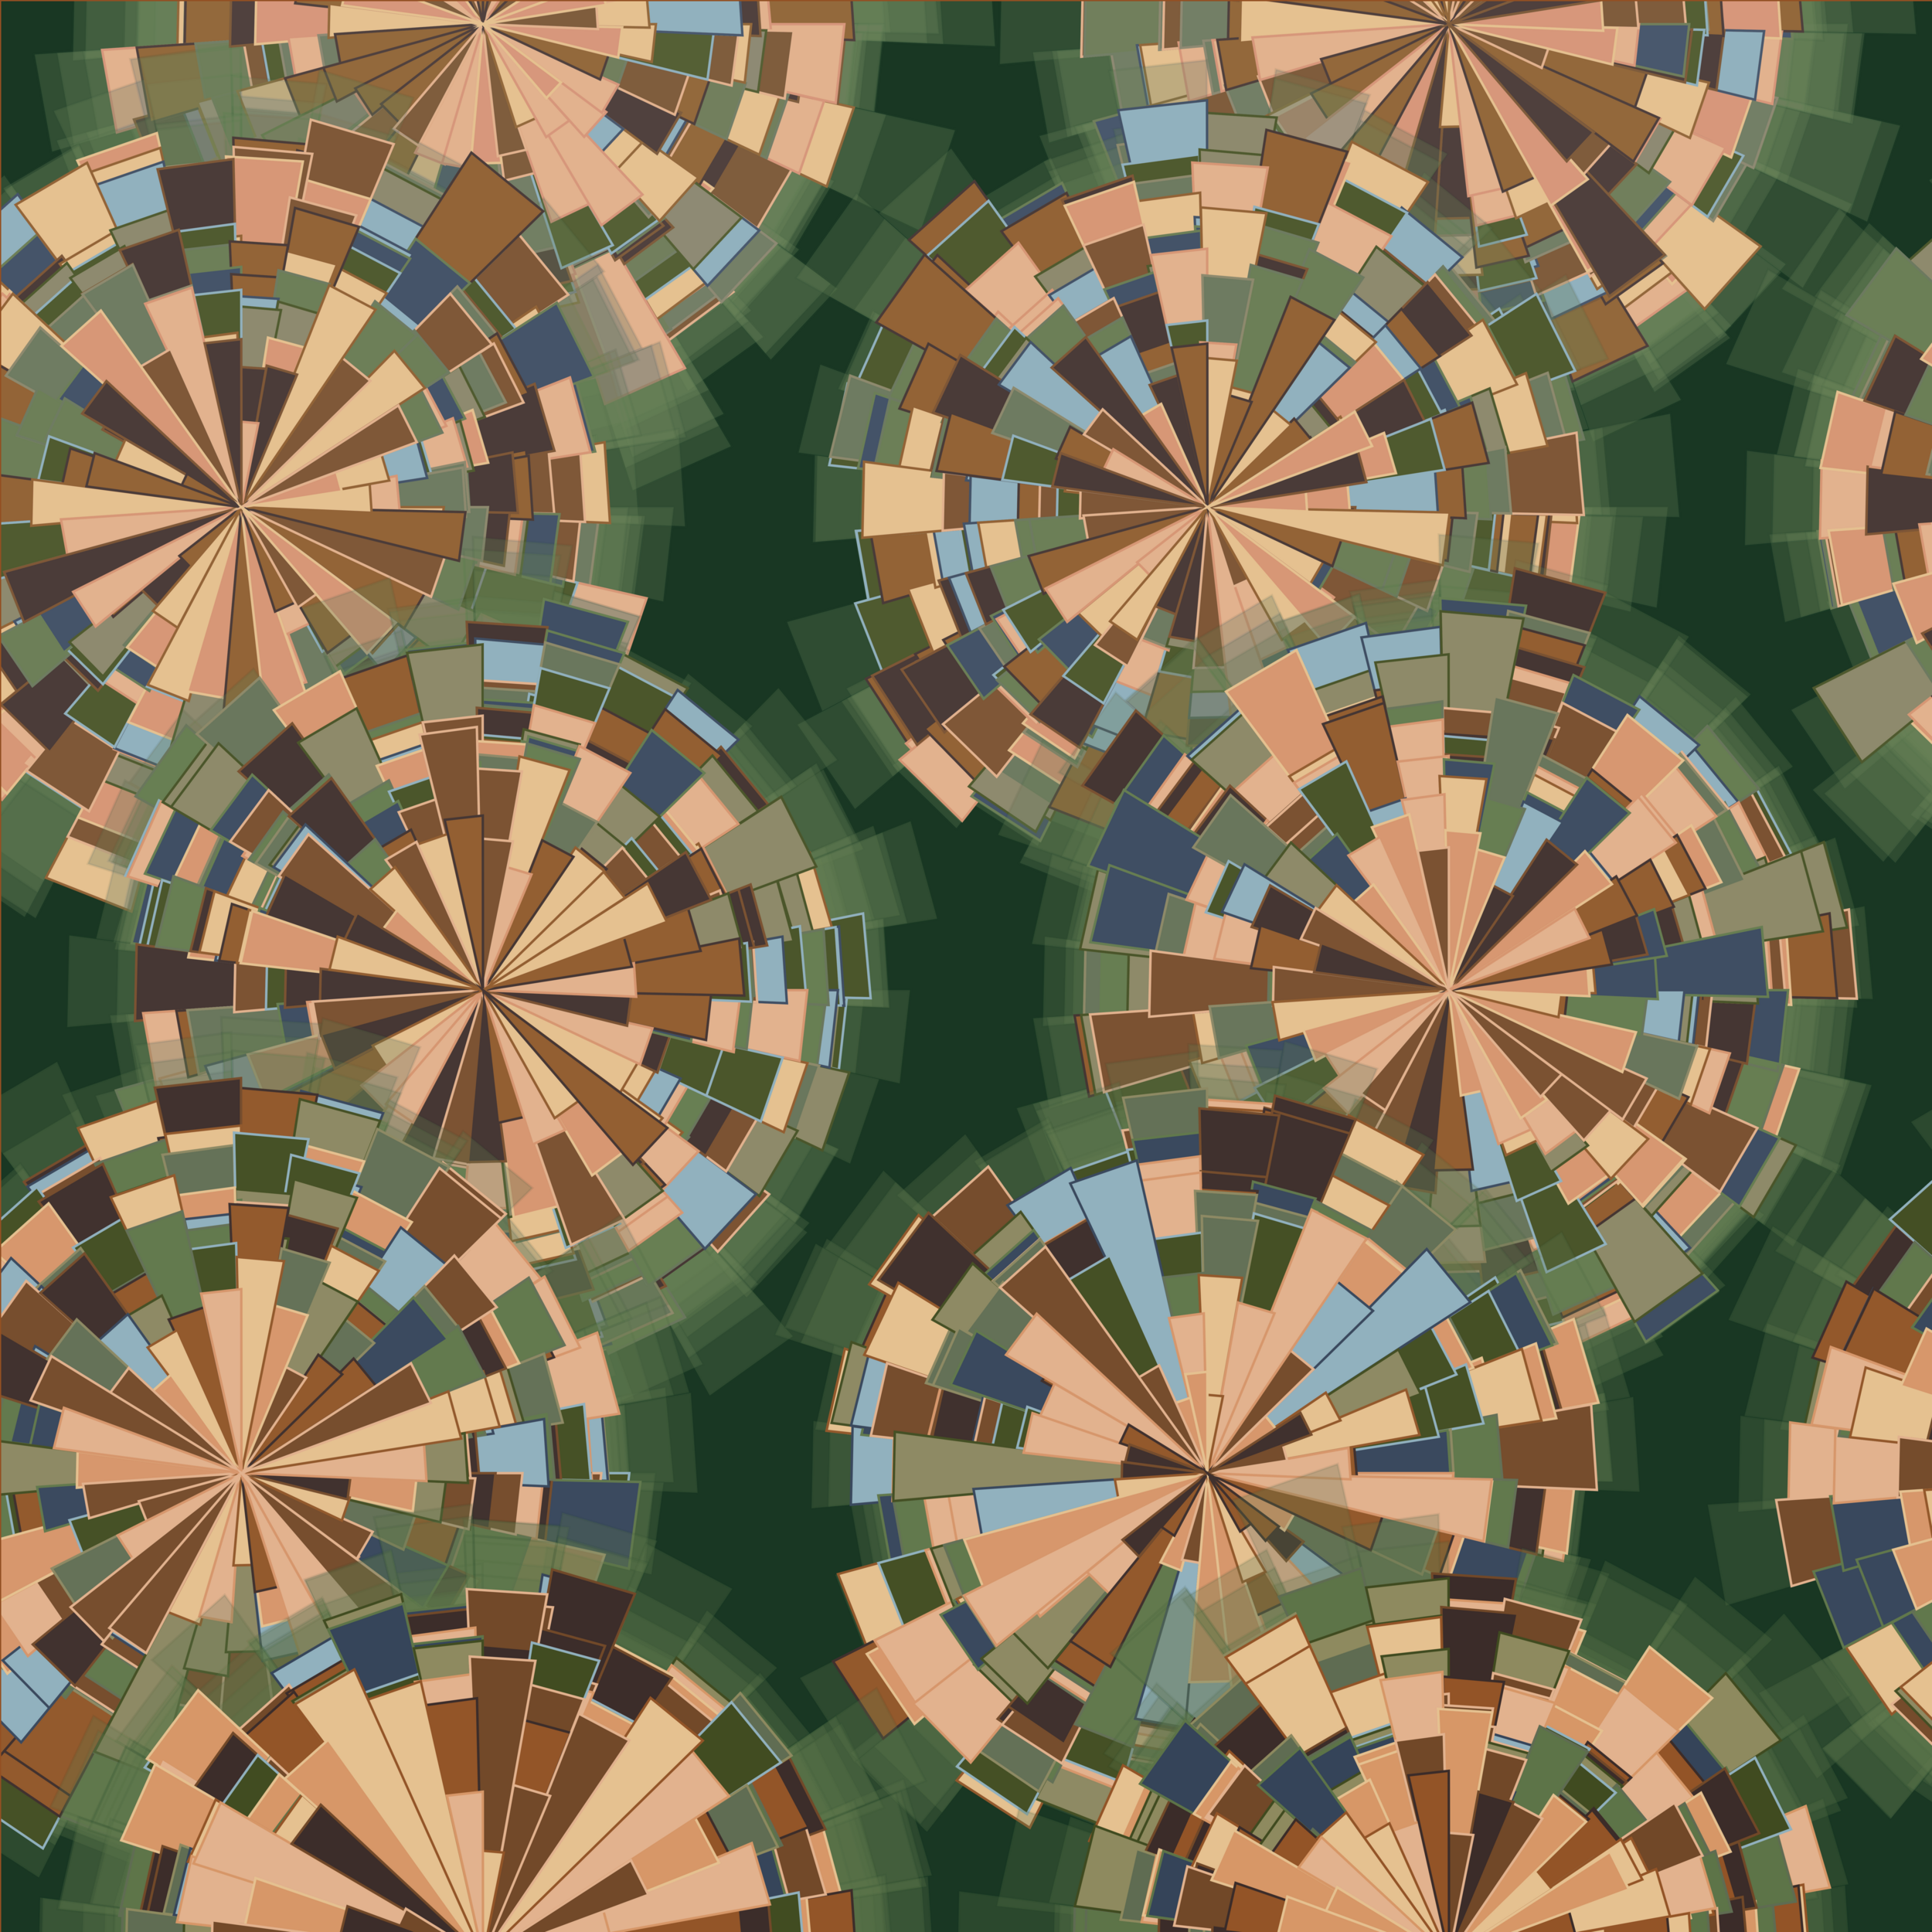
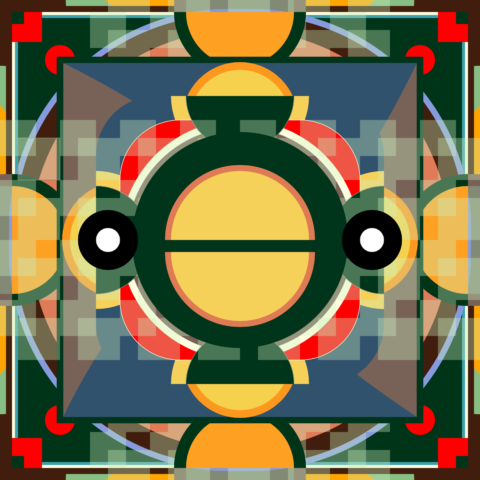
My final pattern:
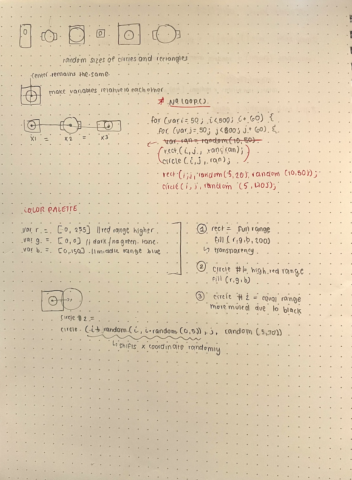
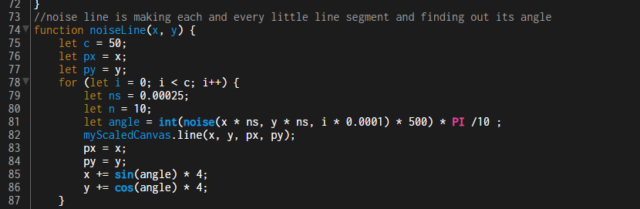
Code
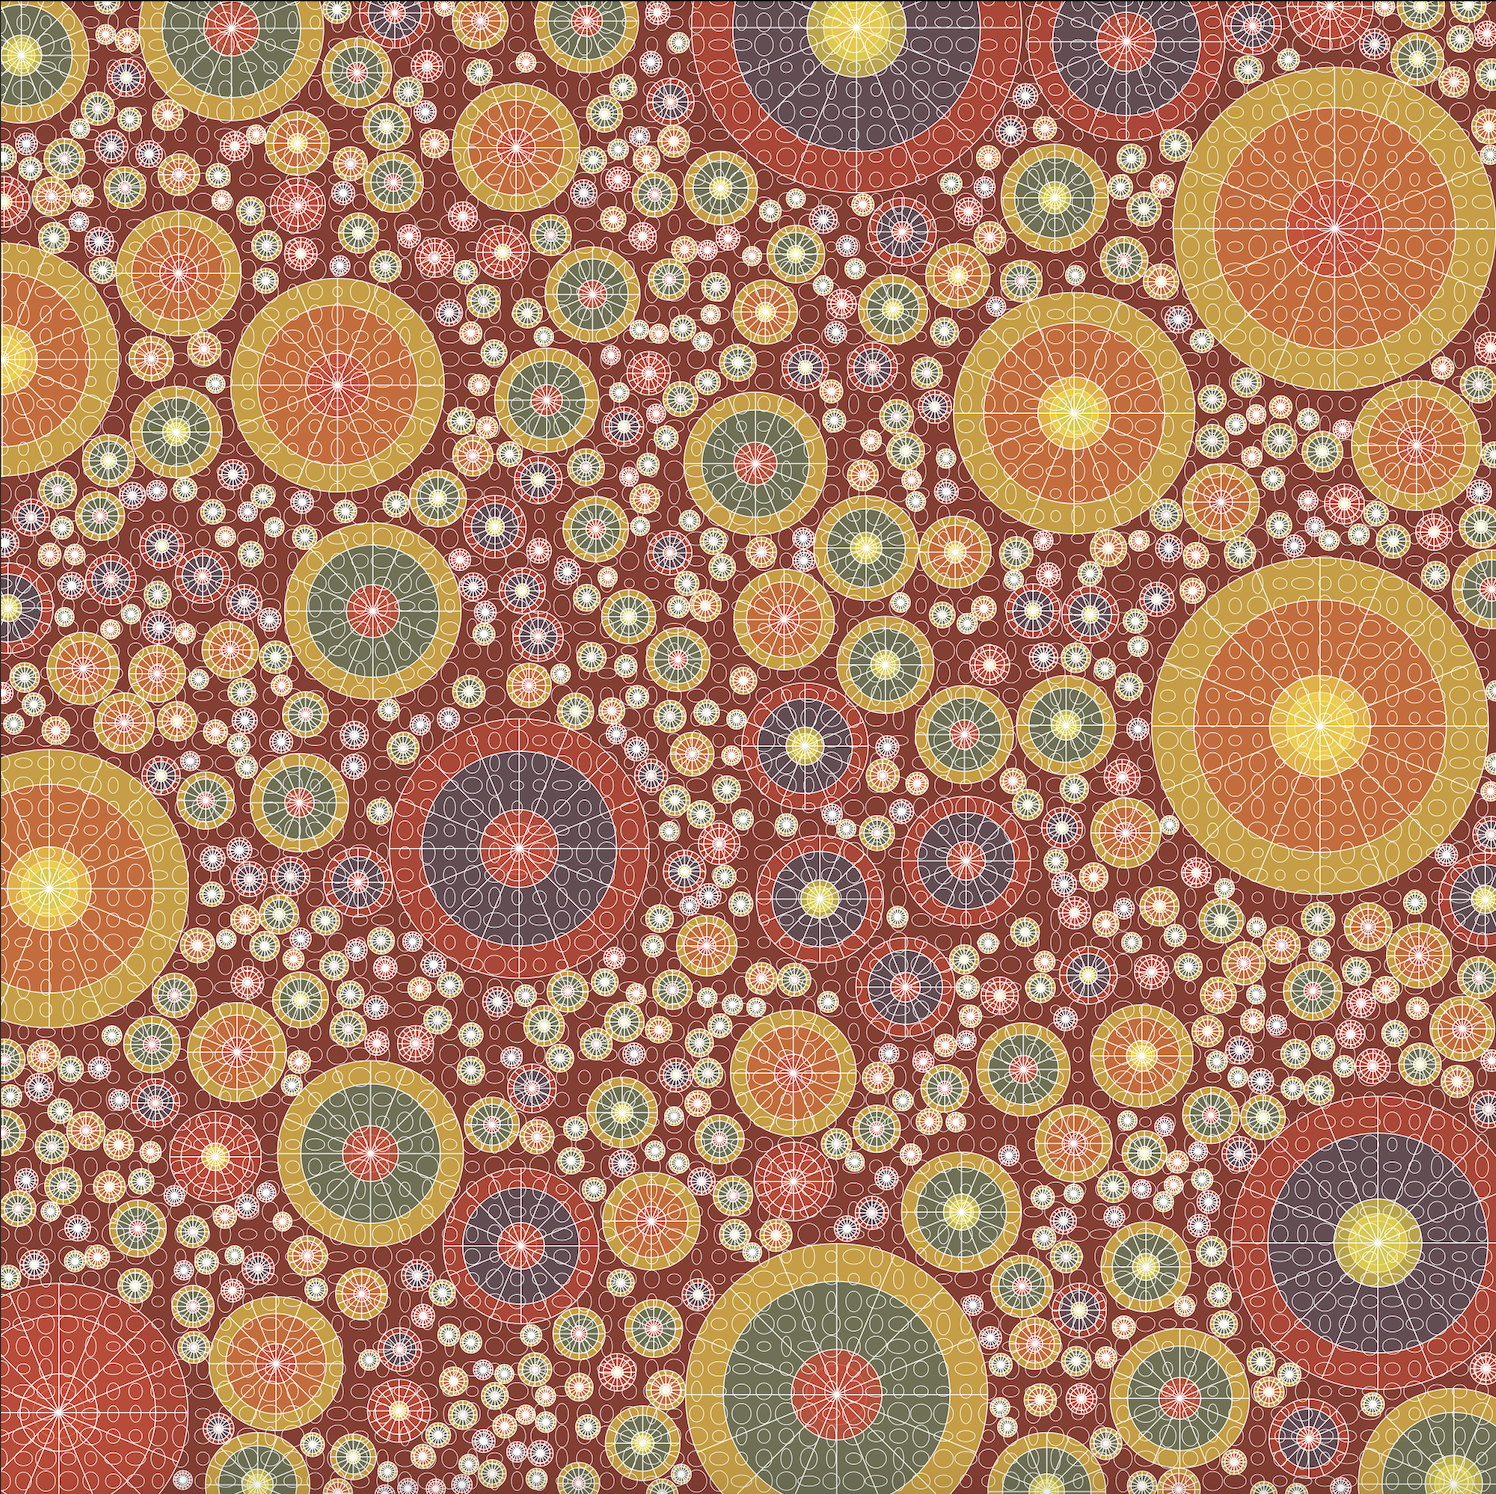
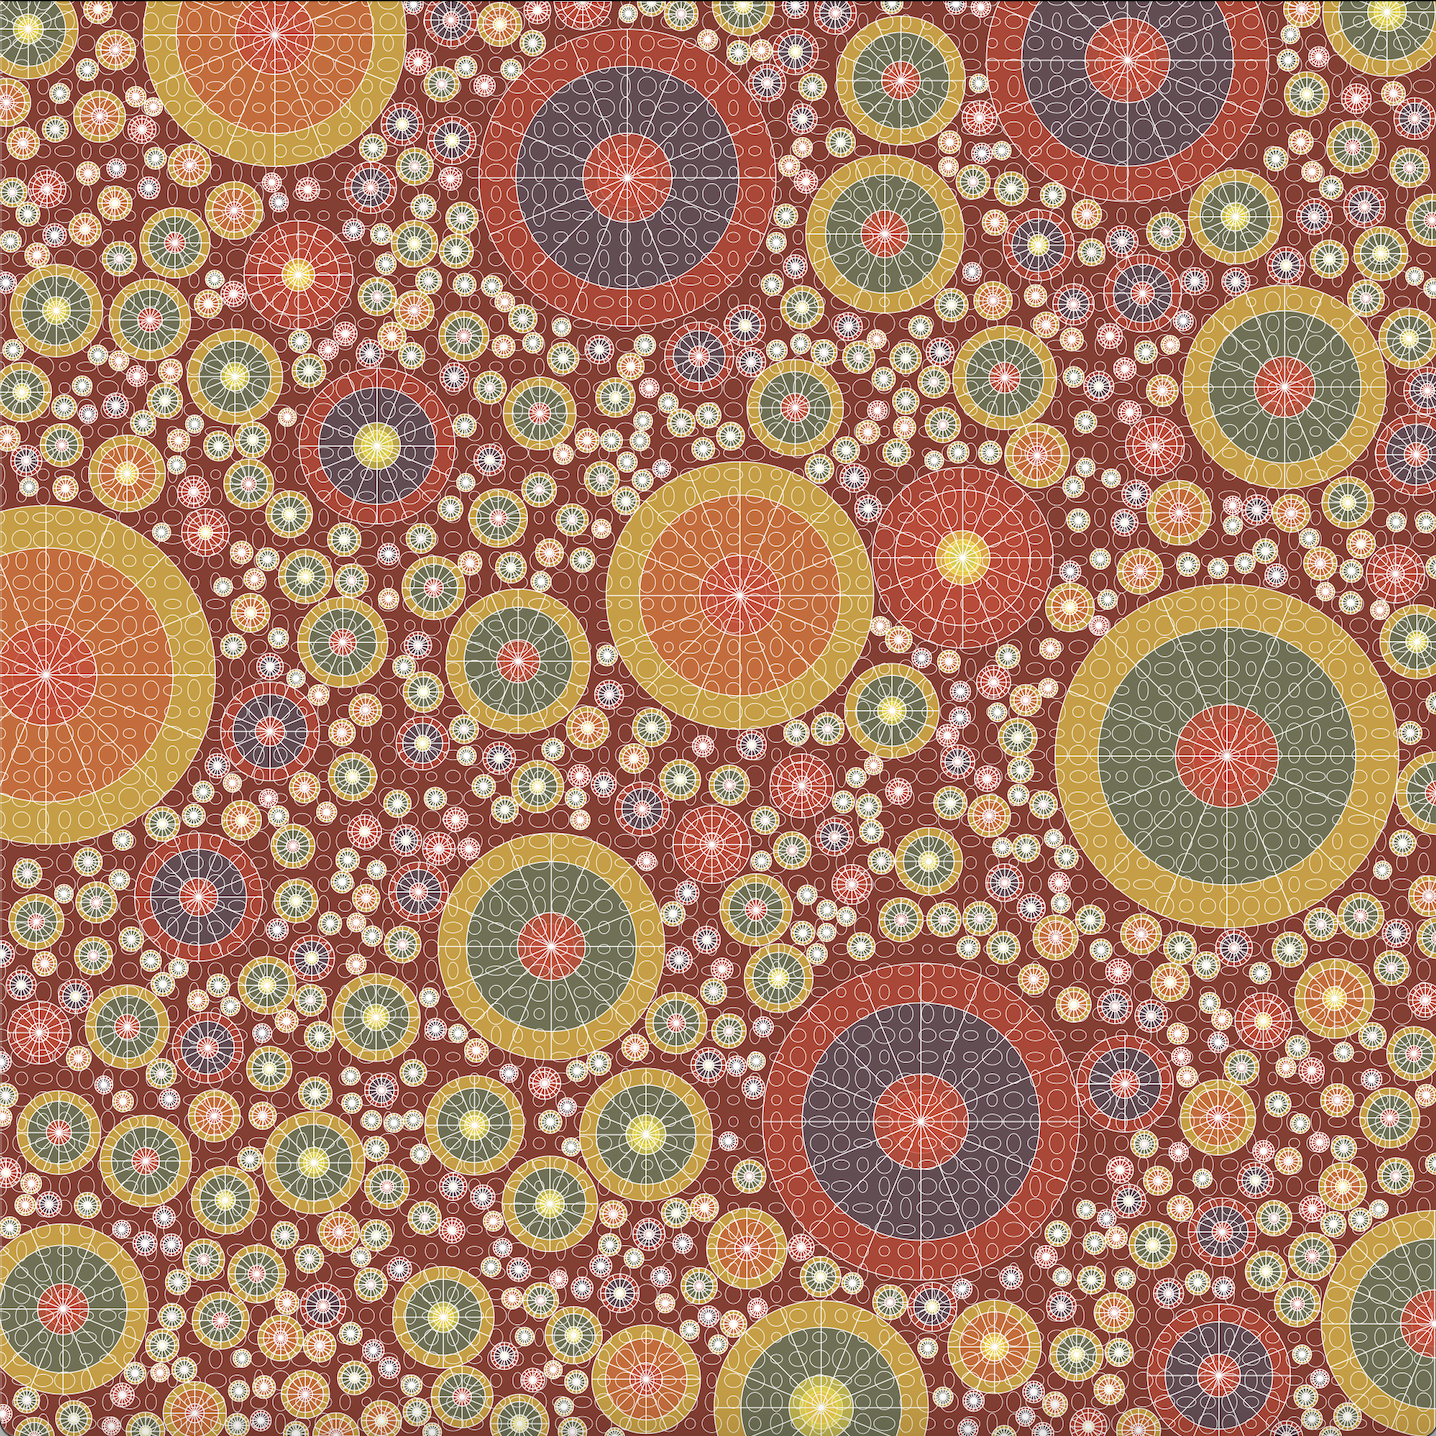
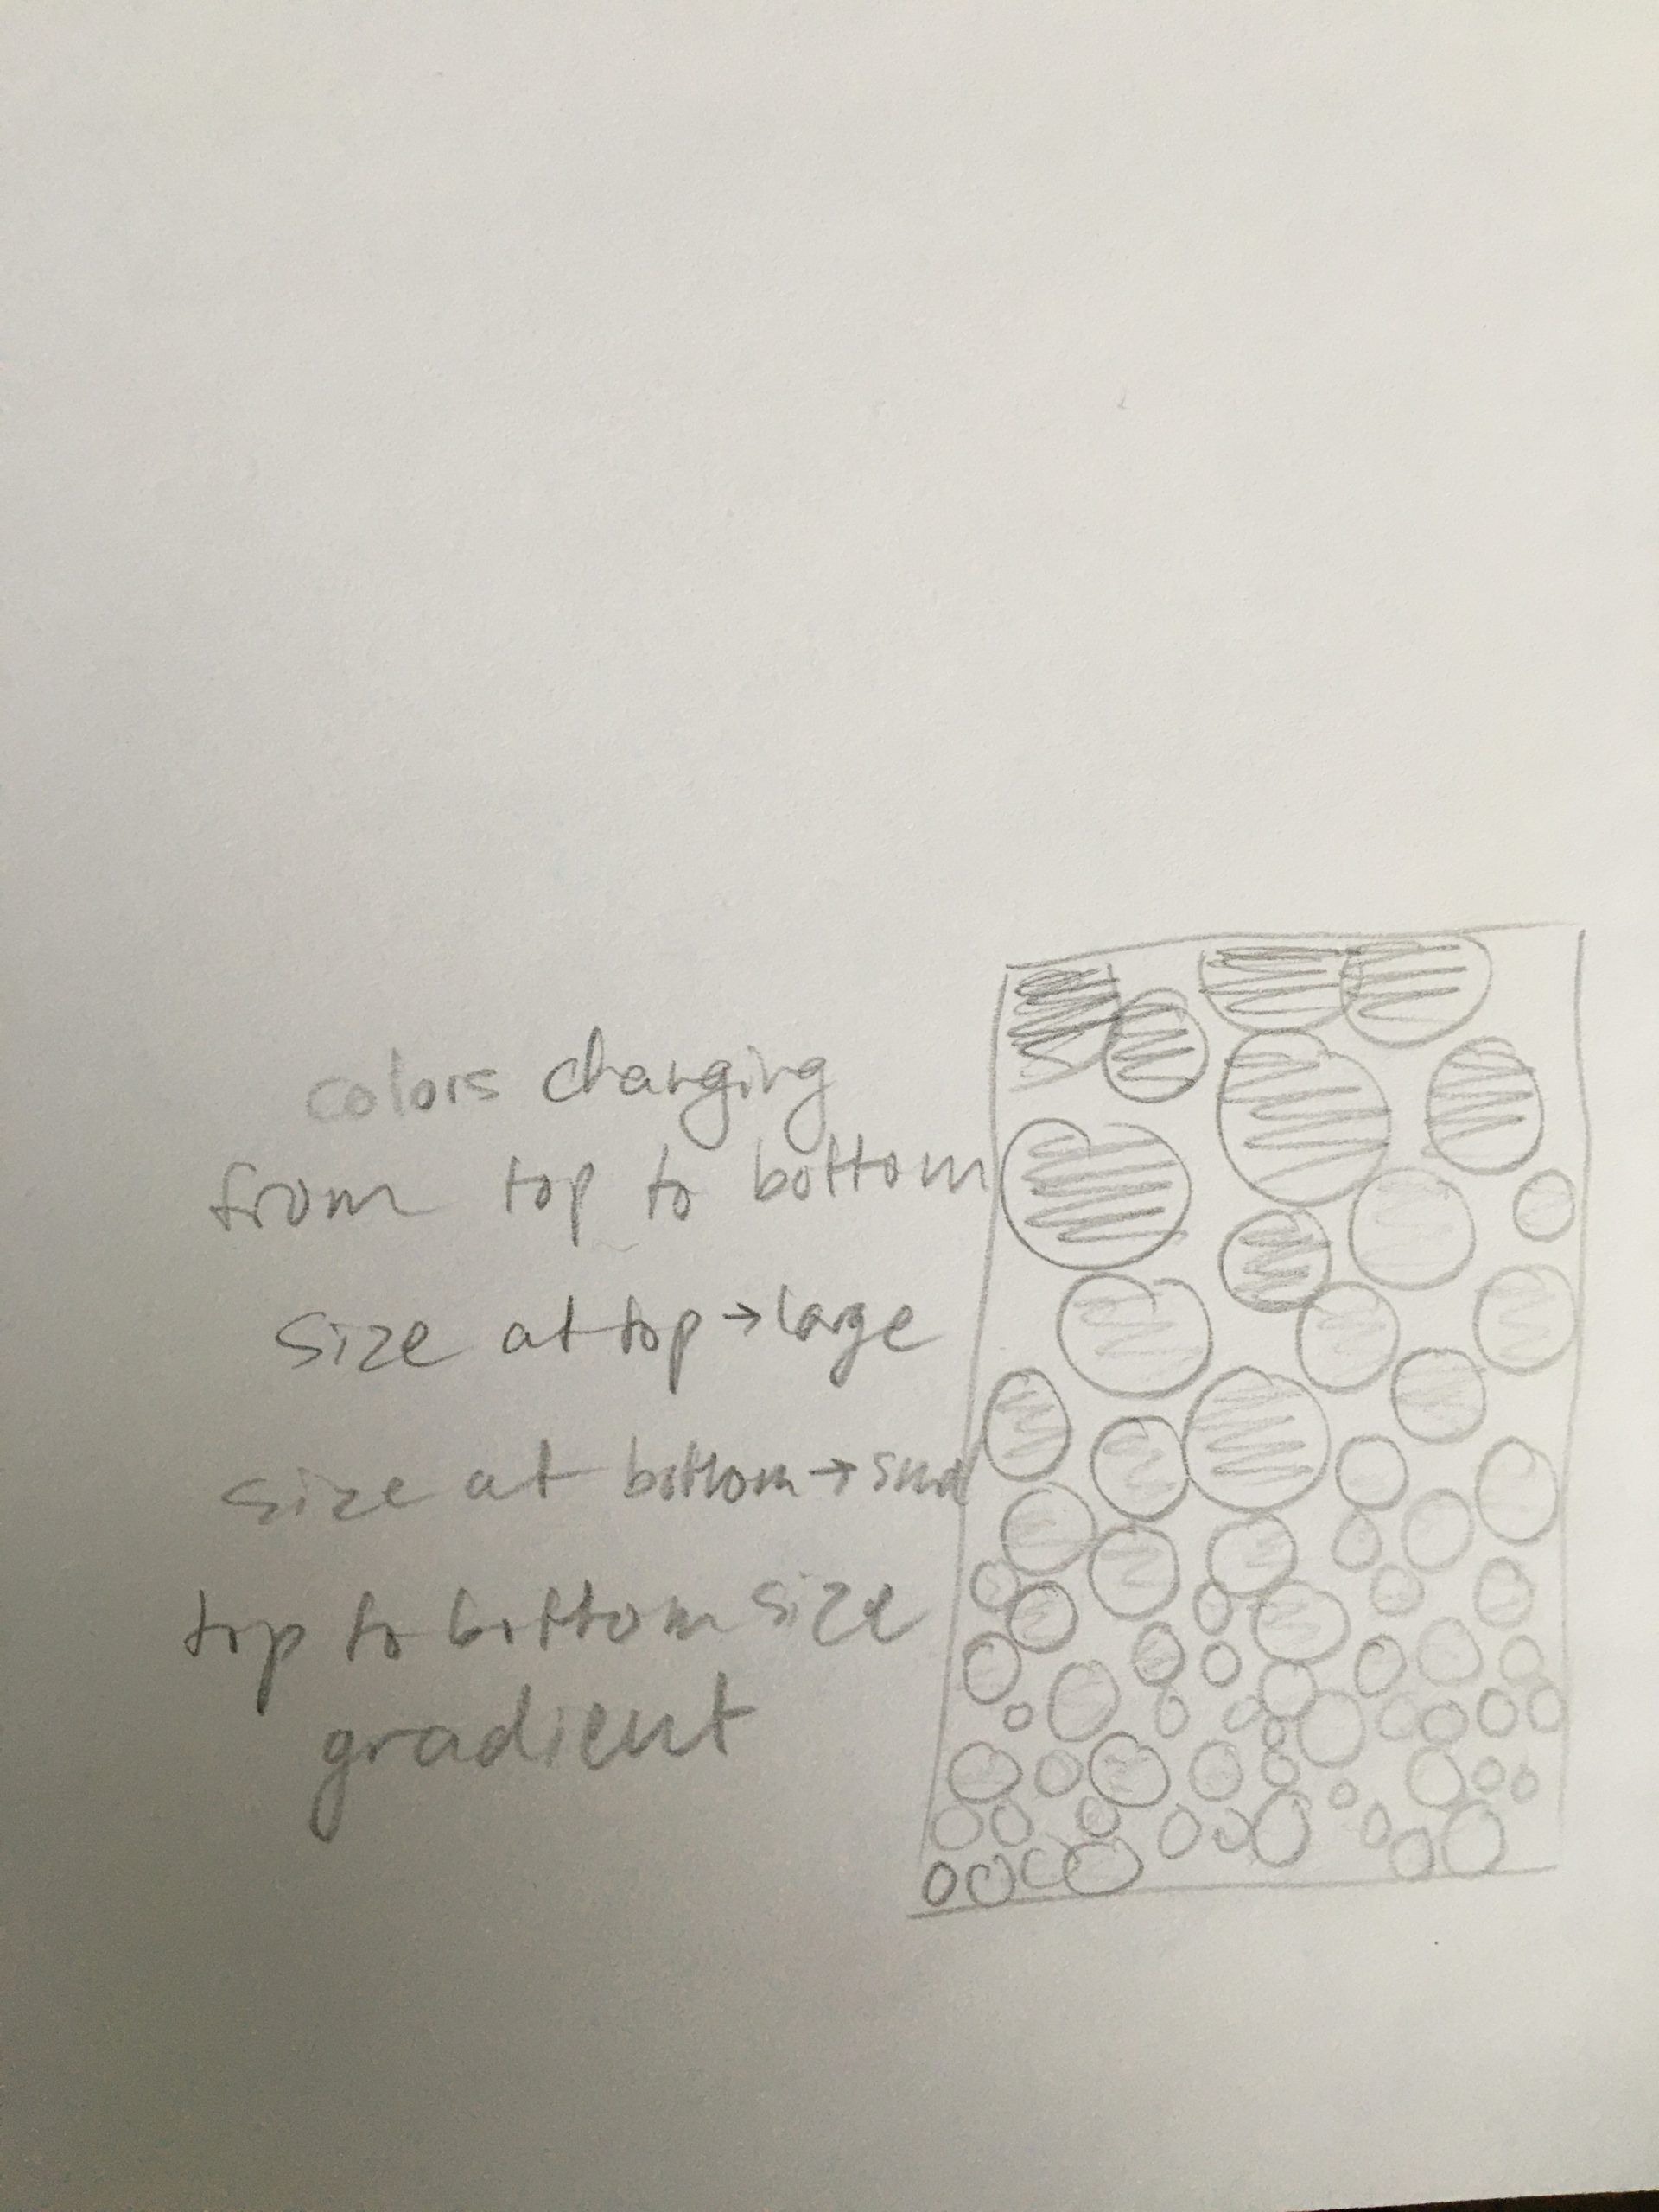
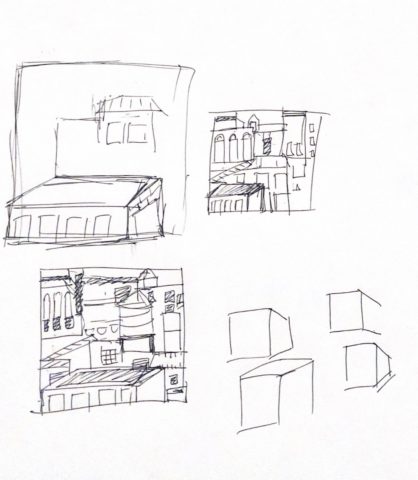
Initial Sketches:

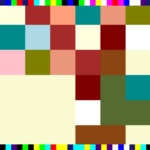
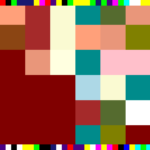
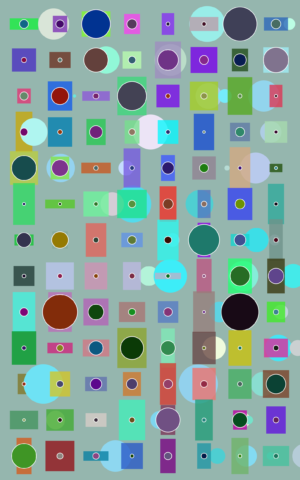
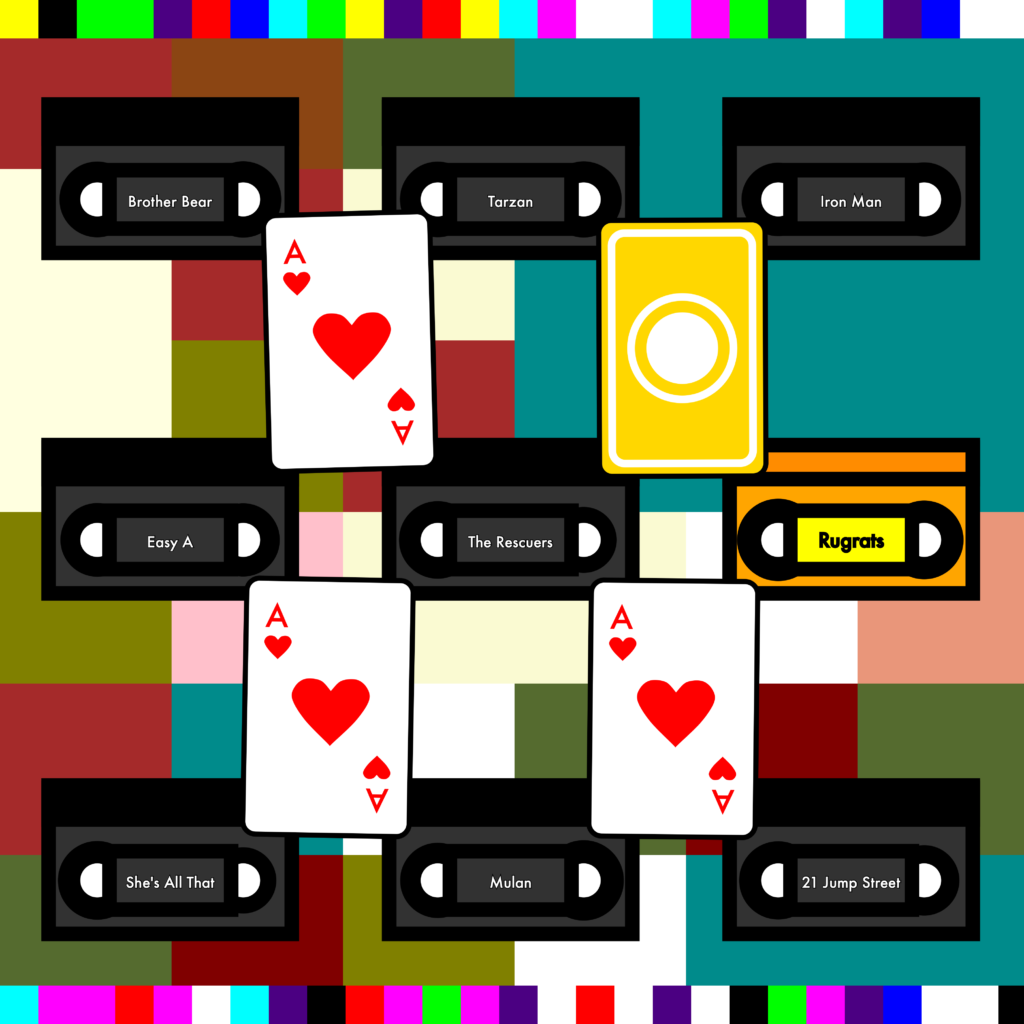
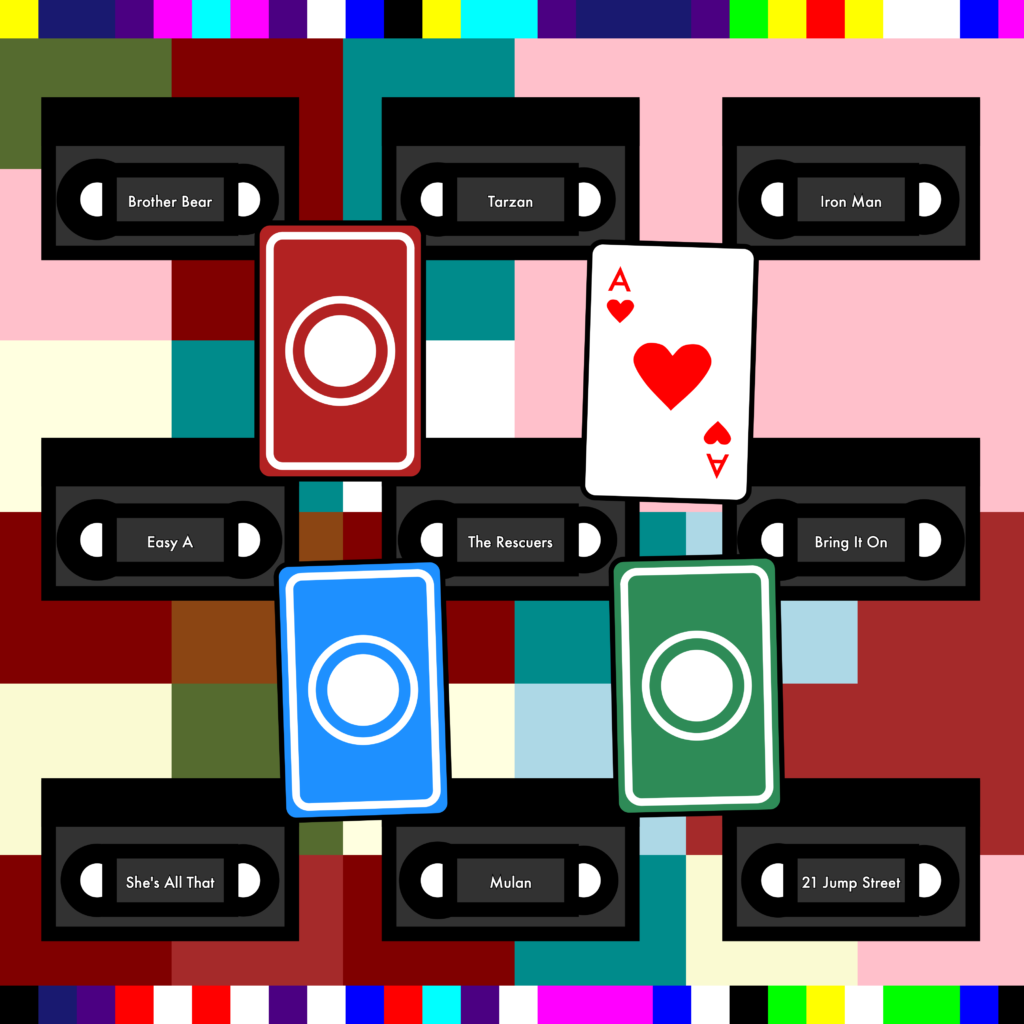
My idea was to do cards and tapes (two of my favorite things in the world), with a randomly colored square background and some random chances of variations happening.
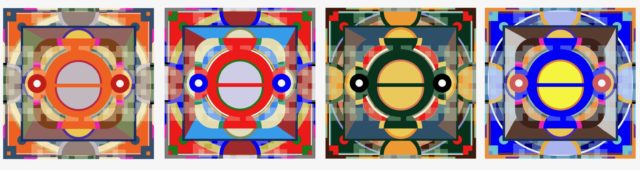
In the end, I wound up with the square background I planned, but I made one large square for dynamics and a top and bottom border of smaller squares (with the “no TV signal” color palette). The colors randomly generate from palettes and the large square has different potential positions.
My tapes also are all randomly named with random tape sizes/positions! This worked out really well and almost exactly how I visualized it except that I couldn’t find out how to do multiple lines of text (line breaks), so I ended up only getting to choose movies with short titles.
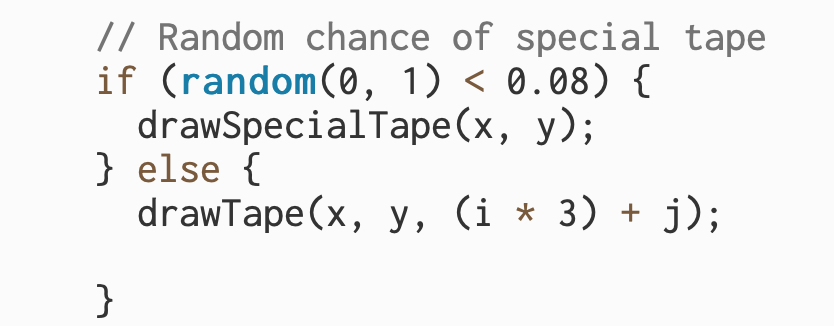
I also used an if/else statement for the small chance of an orange Rugrats tape showing up!
For my cards, I sort of ran into trouble because placing all the different small shapes to make different card numbers was getting really time consuming, so I had to change up my concept a lot. Instead of one deck of cards with random cards showing up, I ended up with 4 different sets of cards with all ace of heart cards. To make it look a little more intentional, I made the randomly chanced card backs 4 different colors, so it will always look like 4 different sets (making the 4 ace of heart cards make more sense)!
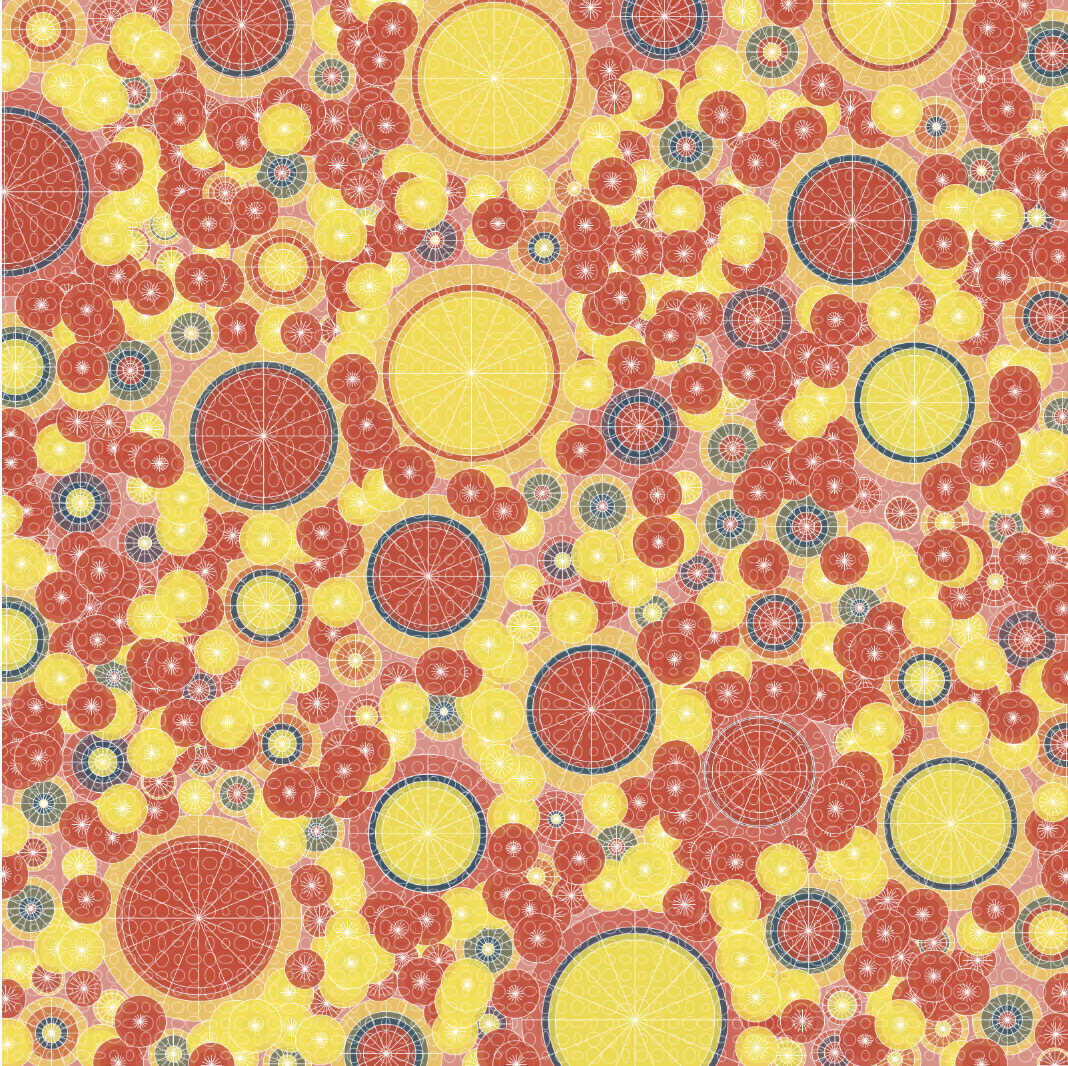
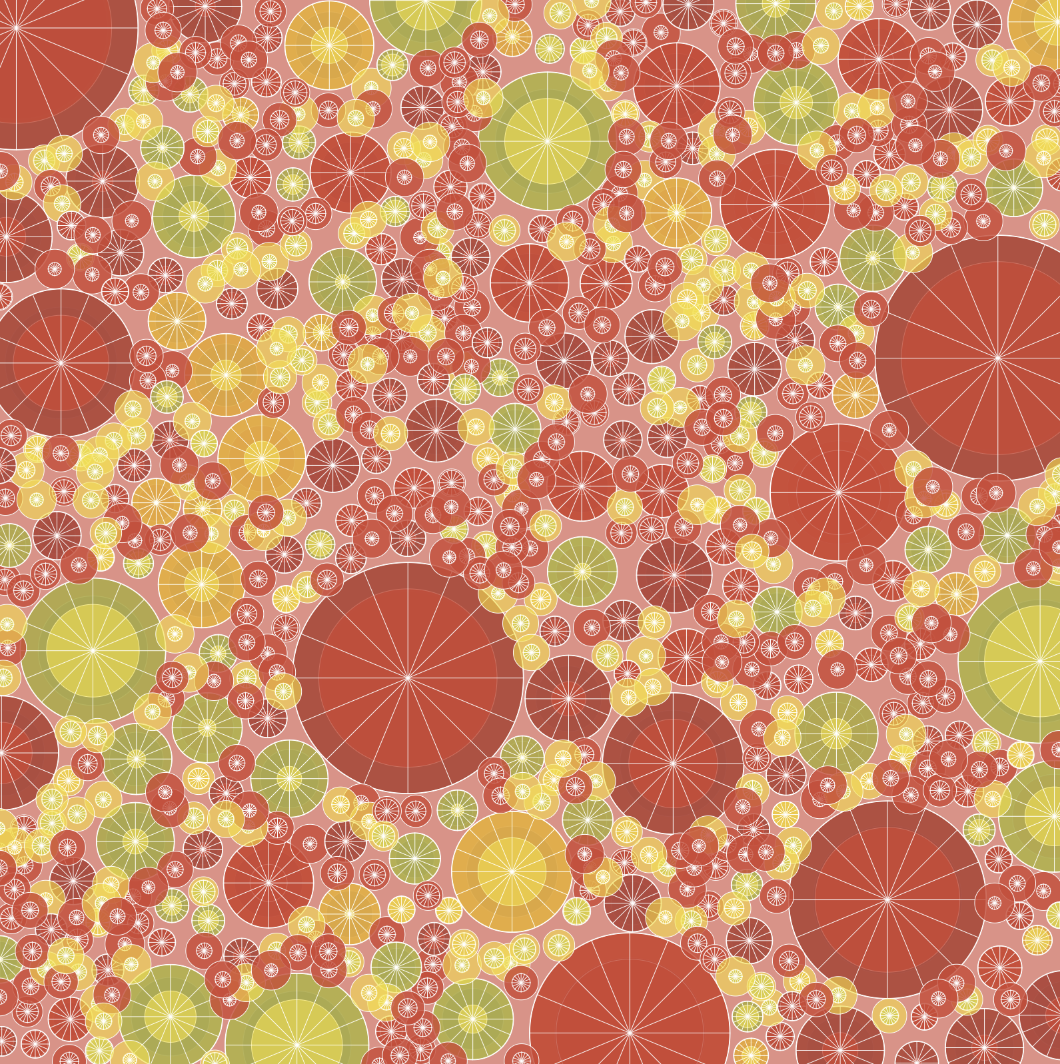
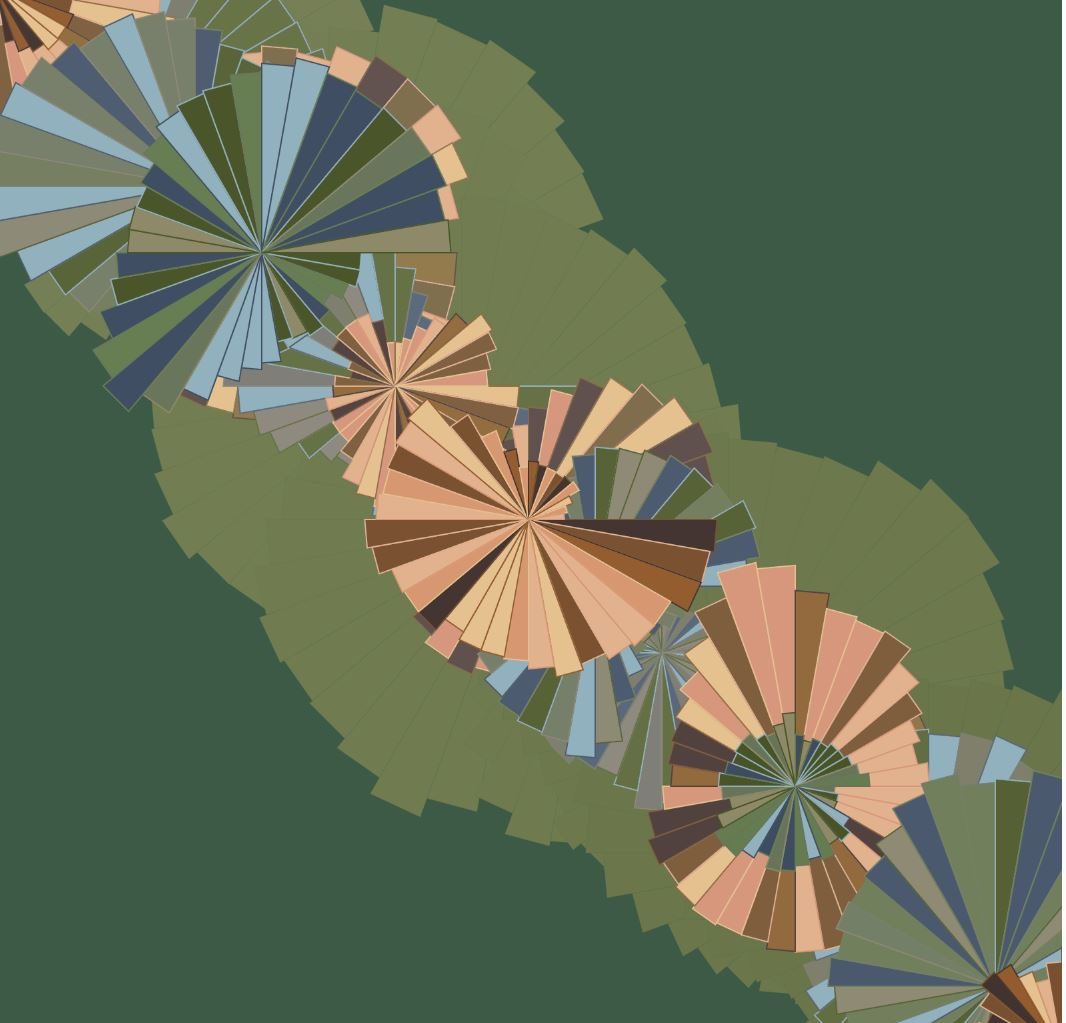
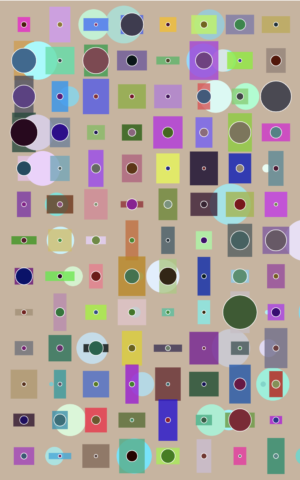
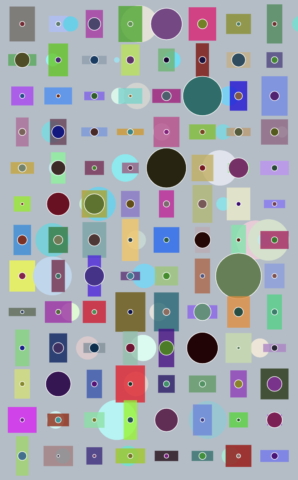
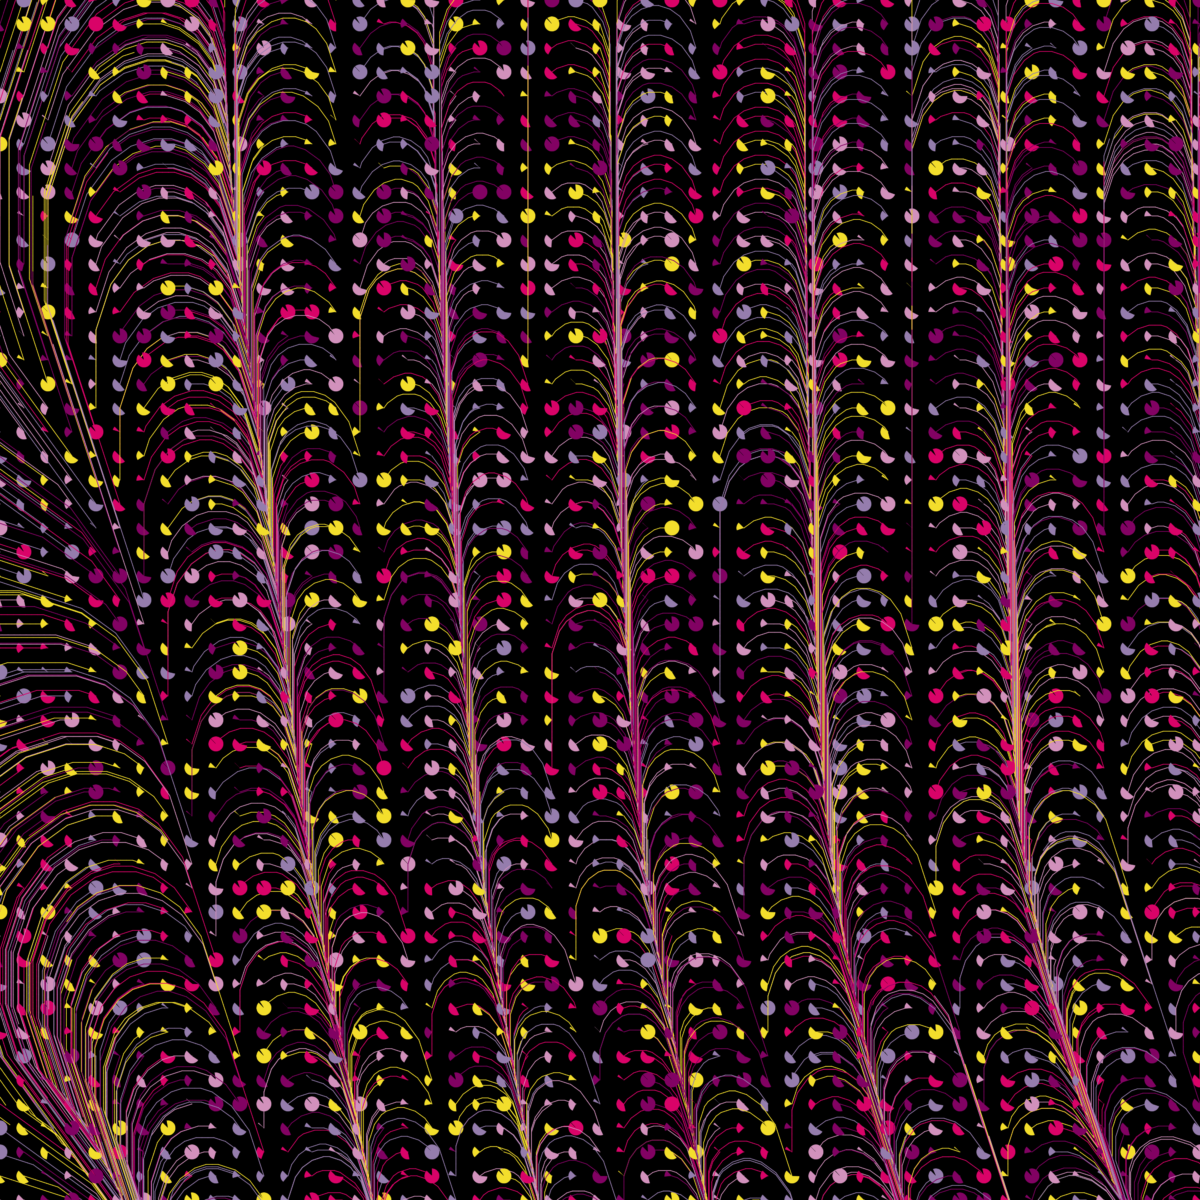
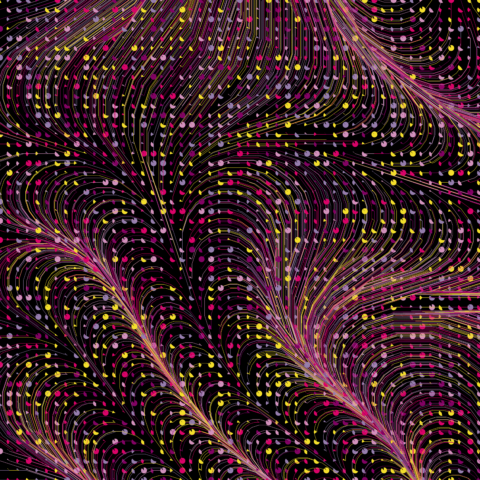
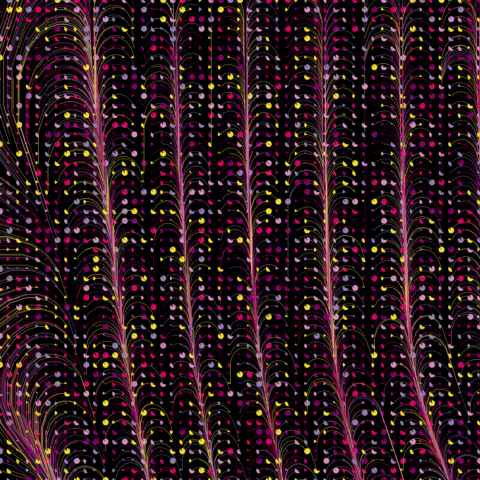
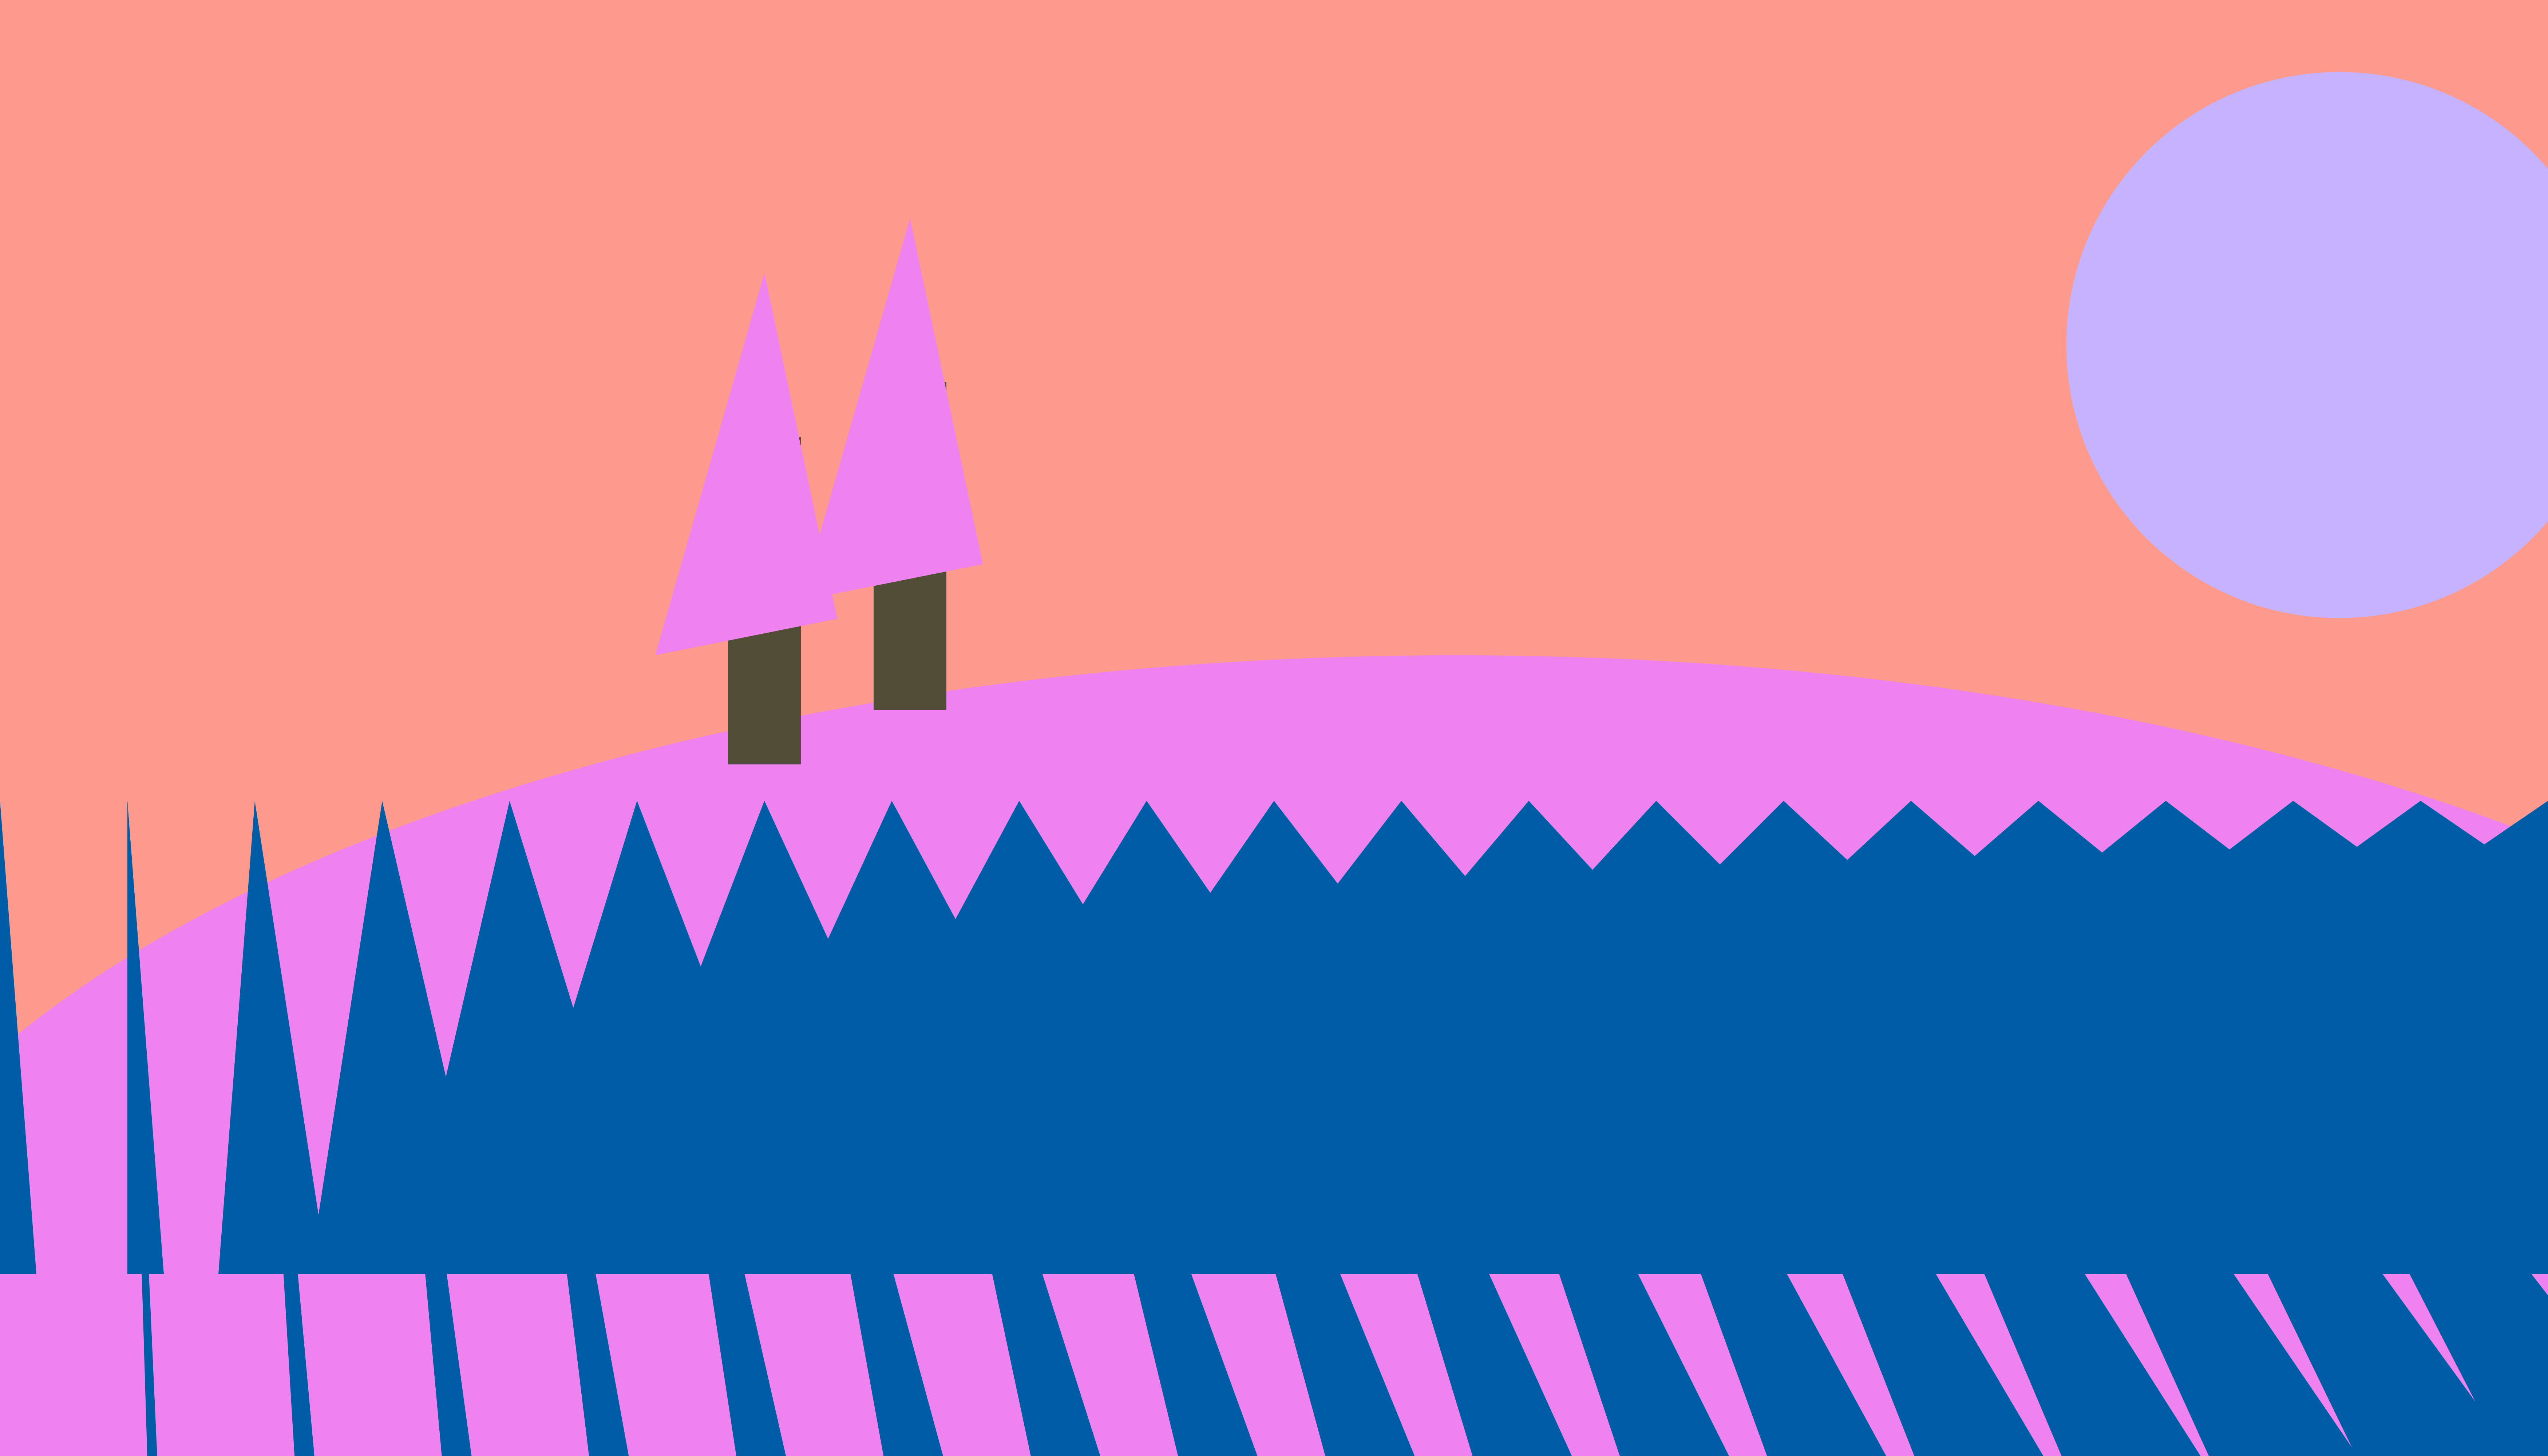
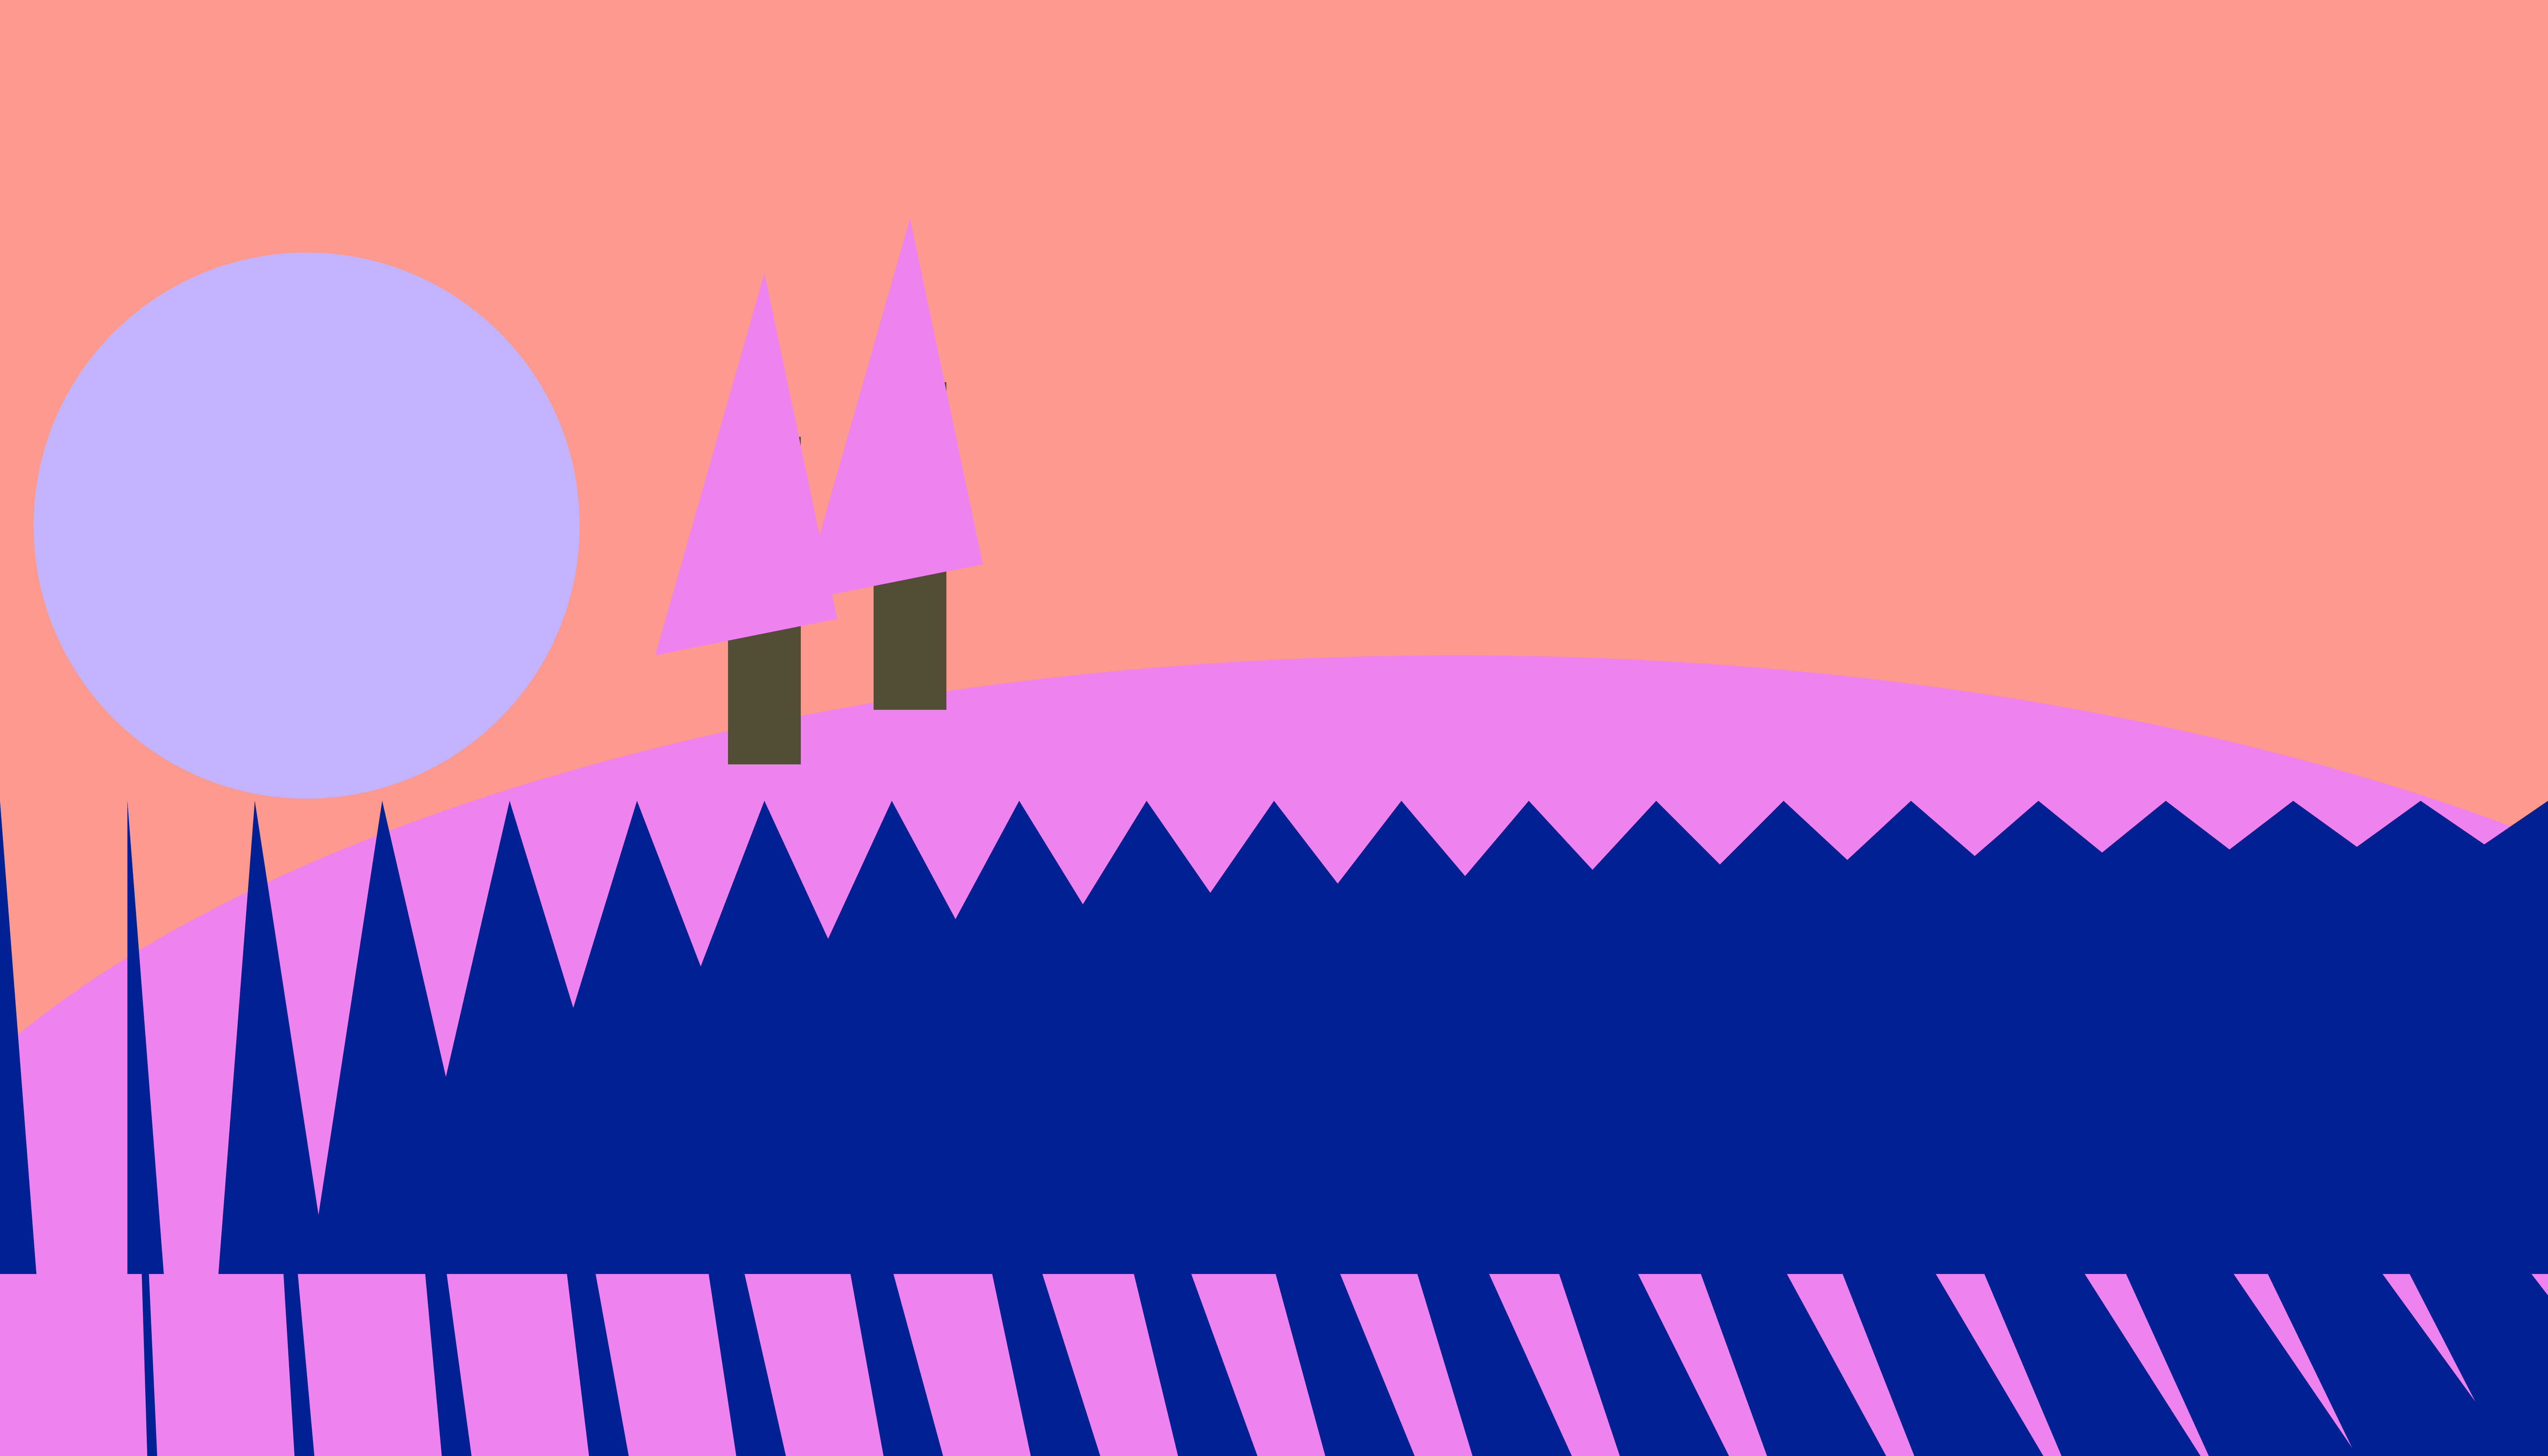
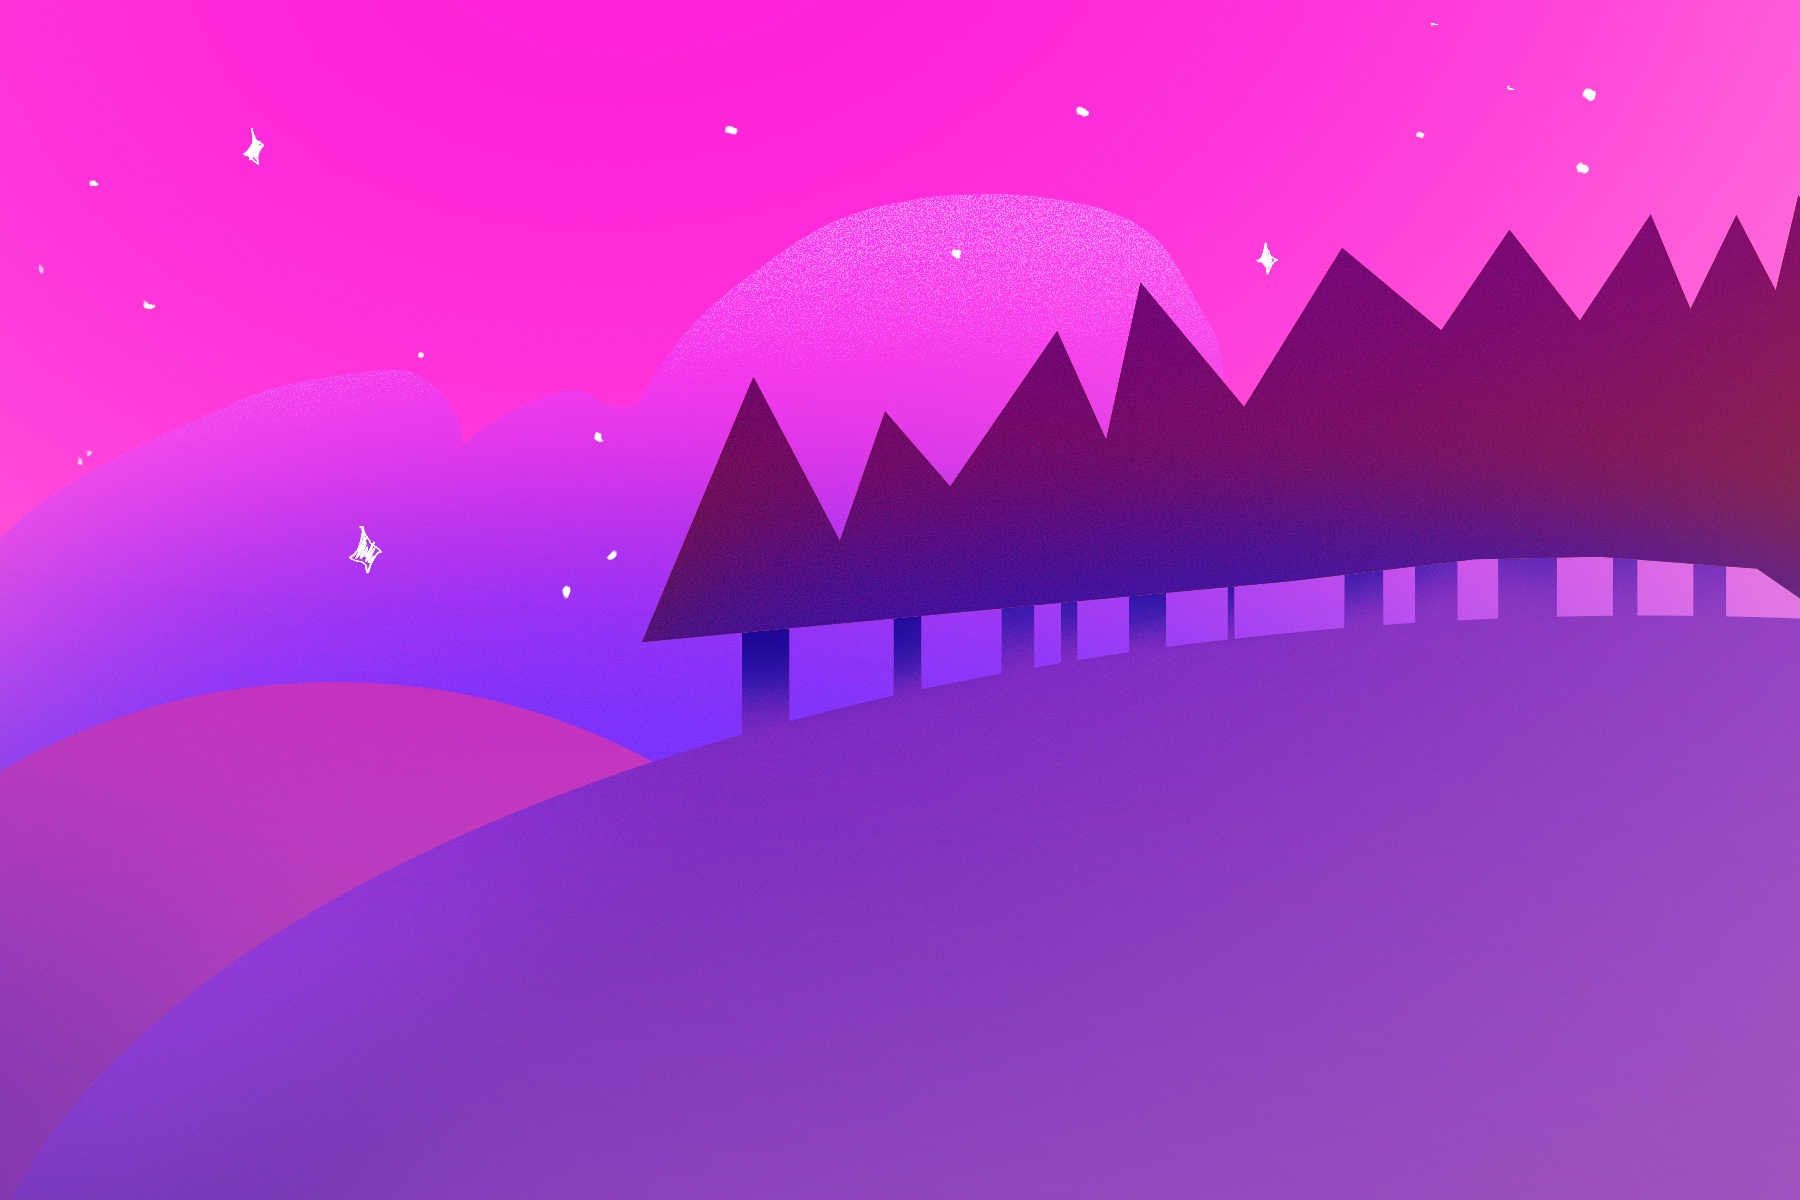
I really like my pattern and would LOVE this wallpaper with all my favorite movie titles in my future basement. I really love clutter and having a lot of things going on, so this really fits my style. I do think my design isn’t all that interesting in its variations, though. It’s all very predictable in the element positions, really only changing colors and text. I think if I were to start over, I would focus on a more abstract design with lots of wild variations, sort of like how my background on its own looked: