The Unity Interface
In this section, you will learn what the different panels in the Unity interface do, and how to navigate the 3d space. In the end, you’ll create a cube to place in the scene and then move it around.
Todo list
- Go through the short Unity tutorial about learning the interface
- Glossary / List of windows / How to move around the scene
- Learn by doing – let’s move a cube around the scene!
1. Official Unity tutorial
To start, go through the 5 steps of the Unity tutorial chapter called Exploring the Editor Layout.
2. Windows and navigation
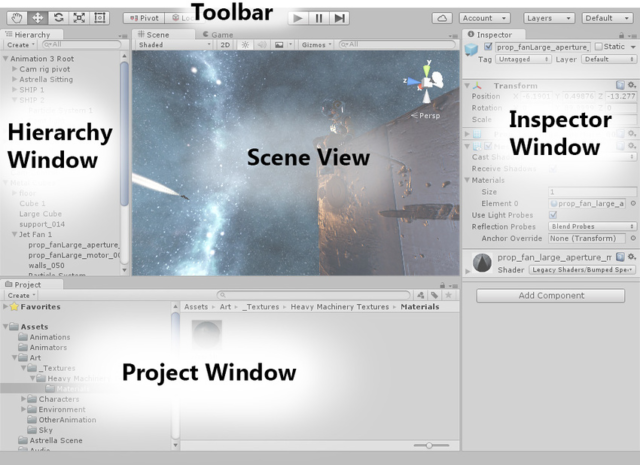
The Unity Editor is made of a lot of windows that can be arranged in any way. You can drag them around to rearrange them, and save your layout preferences as a preset.
The default layout is below:
For navigating around the scene:
Arrow keys: You can use the Arrow Keys to move around the Scene as though “walking” through it. The up and down arrows move the Camera forward and backward in the direction it is facing. The left and right arrows pan the view sideways.
The Hand tool: When the Hand tool is selected (shortcut: Q), the following mouse controls are available:
Move: Click-drag to drag the Camera around.
Orbit: Hold Alt, and left-click and drag to orbit the Camera around the current pivot point.
Zoom: Hold Alt, and right-click and drag to zoom the Scene view. On Mac you can also hold Control, and left-click and drag instead.
Hold down Shift to increase the rate of movement.
Positioning Objects:
Selecting something: Click on it in the Hierarchy or Scene view. To select multiple things, hold shift. If selected, the object will be outlined.
Move: With move you can drag on the arrows to move along one axis, on the small squares inside to move on a single plane, or on the cube to move freely.
Rotate: With the Rotate tool selected, change the GameObject’s rotation by clicking and dragging the axes of the wireframe sphere that appears.
Scale: The Scale tool lets you rescale the GameObject evenly on all axes at once by clicking and dragging on the cube at the center of the Gizmo. You can also scale the axes individually, (but you should take care if you do this when there are child GameObjects, because the effect can look quite strange).
Transform: The Transform tool combines the Move, Rotate and Scale tools.
RectTransform: The RectTransform is used for positioning 2D elements, but it can also be useful for manipulating 3D GameObjects. It also combines moving, scaling and rotation.
Read pages 2 – 10 of this quick start to learn about the building blocks of Unity! Don’t skip this! The quickstart is super useful and those pages are a great summary.
3. Learn by doing – let’s move a cube around the scene!
- Open a new Unity 3D project
- GameObjects are a general name for assets used in Unity scenes.
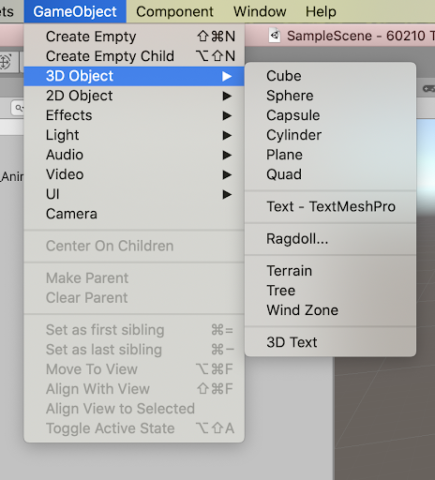
- Make a 3d gameobject, preferably a cube, through the menu GameObject -> 3D Object -> Cube
- In the top left, make sure the translate tool is selected

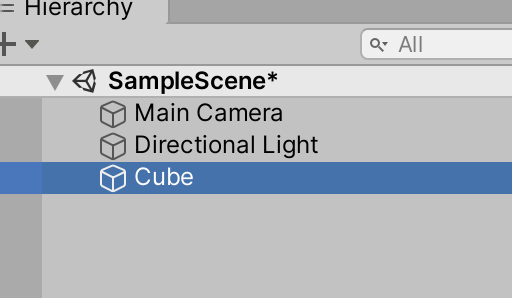
- Double click on the item that just showed up in the inspector called Cube – it should zoom in on the item in the scene.
- Grab the arrows and drag them to move the cube around
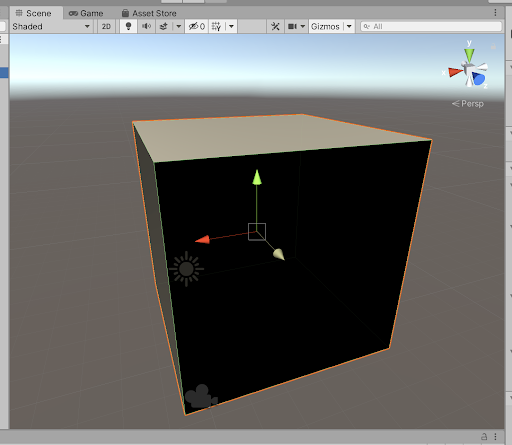
- And that’s it! You moved a cube around!
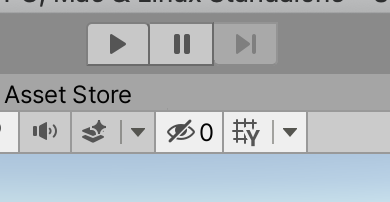
- If you click on the PLAY button on the top middle of the interface, you’ll get a preview of what a player would see if the game was exported. The cube may or may not be in view, depending on how far you moved it earlier.
- For a more detailed walkthrough of how 3d real time objects work, see this TUTORIAL
More tutorials for the curious:
- Learn everything about Unity with the official docs (be warned, these tutorials are VERY long) – https://learn.unity.com/
- Listen to Paolo’s 1 hour tutorial video (be warned he is using 2020 version so it may be slightly different))
- 17 minute tutorial – uses Unity 2019.4